Your iPhone and Apple Watch are powerful safety tools, but these features are easy to miss or take for granted unless you’re in an emergency situation.
Although Apple has intentionally designed these features to be simple and easy to use in stressful circumstances, it’s a good idea to familiarize yourself with them in advance.
More than that, it’s hard to use an important safety feature in a pinch if you don’t even know it exists.
With all that in mind, here are some key safety features built into your iPhone and Apple Watch.
Contents
- 1 How to use iPhone and Apple Watch safety features
- 2 How to use Fall & Crash Detection on your Apple Watch or iPhone
- 3 How to text 911 from your iPhone and Apple Watch
- 4 How to use iPhone critical weather alerts
- 5 How to get emergency alerts on your iPhone and Apple Watch
- 6 How to set up emergency contacts on your iPhone
- 7 How to share location via your iPhone’s and Apple Watch’s Messages app
- 8 Apple safety features are critical to know
Related reading
- How to get rain, snow, and severe weather or critical alerts on iPhone and Apple Watch
- How to turn on crash detection for your Apple Watch
- How to create an emergency Medical ID on your Apple Watch and iPhone
- The best Apple Watch models and features for seniors
How to use iPhone and Apple Watch safety features
There are a wealth of safety features on the iPhone and Apple Watch. Here are some of the most important ones to know.
How to use Emergency SOS on your Apple Watch and iPhone
 One of the simplest yet most powerful safety features on iOS and watchOS is the ability to quickly contact emergency services — right from your iPhone or Apple Watch.
It’s simple and easy to call emergency services on your iPhone, though the exact method differs based on your model.
On an iPhone 8 and later:
- Press and hold the side button and either one of the volume buttons.
- An Emergency SOS slider appears.
- You can slide the slider to contact emergency services.
- Alternatively, you can either keep holding the buttons down. If you choose this route, it’ll start a countdown. Your iPhone automatically calls emergency services when it’s over.
On an iPhone 7 or earlier:
- Rapidly press the side or top button five times.
- The Emergency SOS slider appears.
- Drag the Emergency SOS slider to call emergency services.
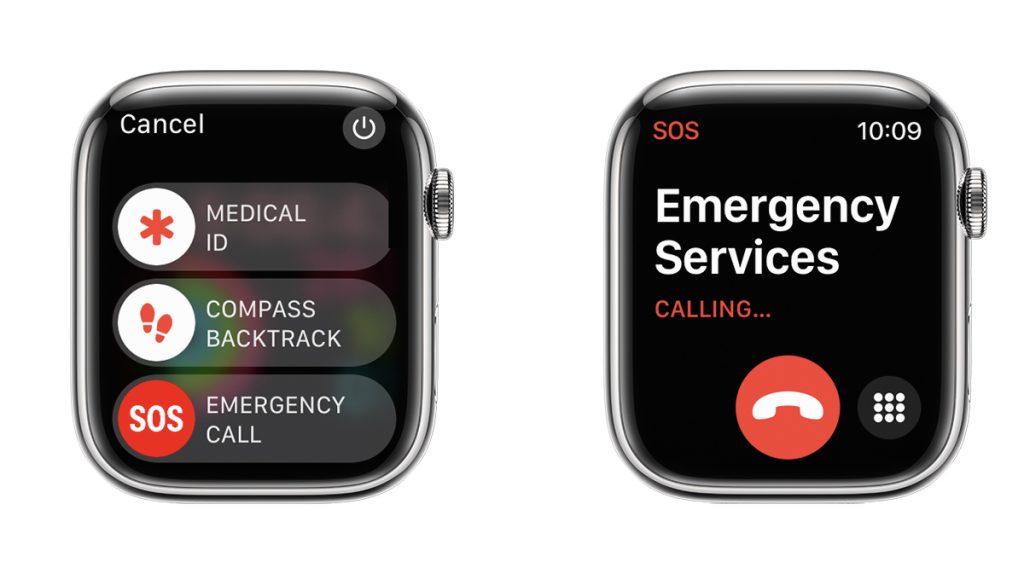
You can also contact emergency services from your Apple Watch. Here’s how:
- Press and hold the side button.
- Sliders will appear. Drag the Emergency Call slider to the right to contact emergency services.
- Alternatively, you can keep holding the Side Button until your Apple Watch plays a sound and starts a countdown. Your Watch automatically calls Emergency Services when it completes.
When you make an Emergency SOS call, your iPhone or Apple Watch automatically contacts the local emergency services number and shares your location with the relevant authorities.
It’s also worth noting that all cellular-enabled devices in the U.S. must be able to call emergency services by law — even without a cellular plan.
How to use Fall & Crash Detection on your Apple Watch or iPhone 
A pair of related features on the Apple Watch are Fall Detection and Crash Detection. Both kick in during moments when you might not have your iPhone nearby.
Fall Detection is for Apple Watch only and is designed to kick in when you’ve taken a hard fall, including a fall down stairs or off a bicycle. 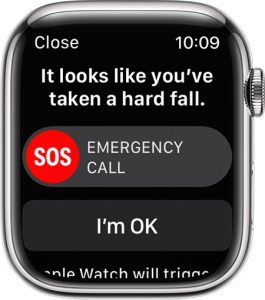
If your Apple Watch detects that you’ve taken a hard fall, it’ll provide a slider that lets you easily contact local first responders. You can dismiss this alert if you’d like. If you don’t respond within 30 seconds, your Apple Watch will contact emergency services for you.
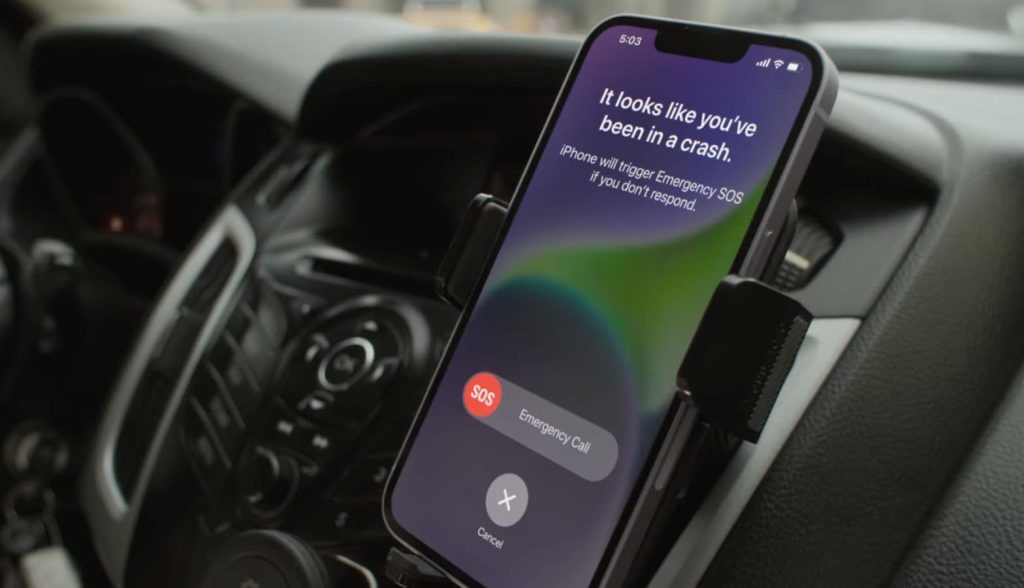
Crash Detection is a similar feature designed to detect severe car crashes of all kinds across a range of different vehicle types, and it works on both iPhone and Apple Watch.
Like Fall Detection, Crash Detection automatically provides you with a slider to contact emergency services. 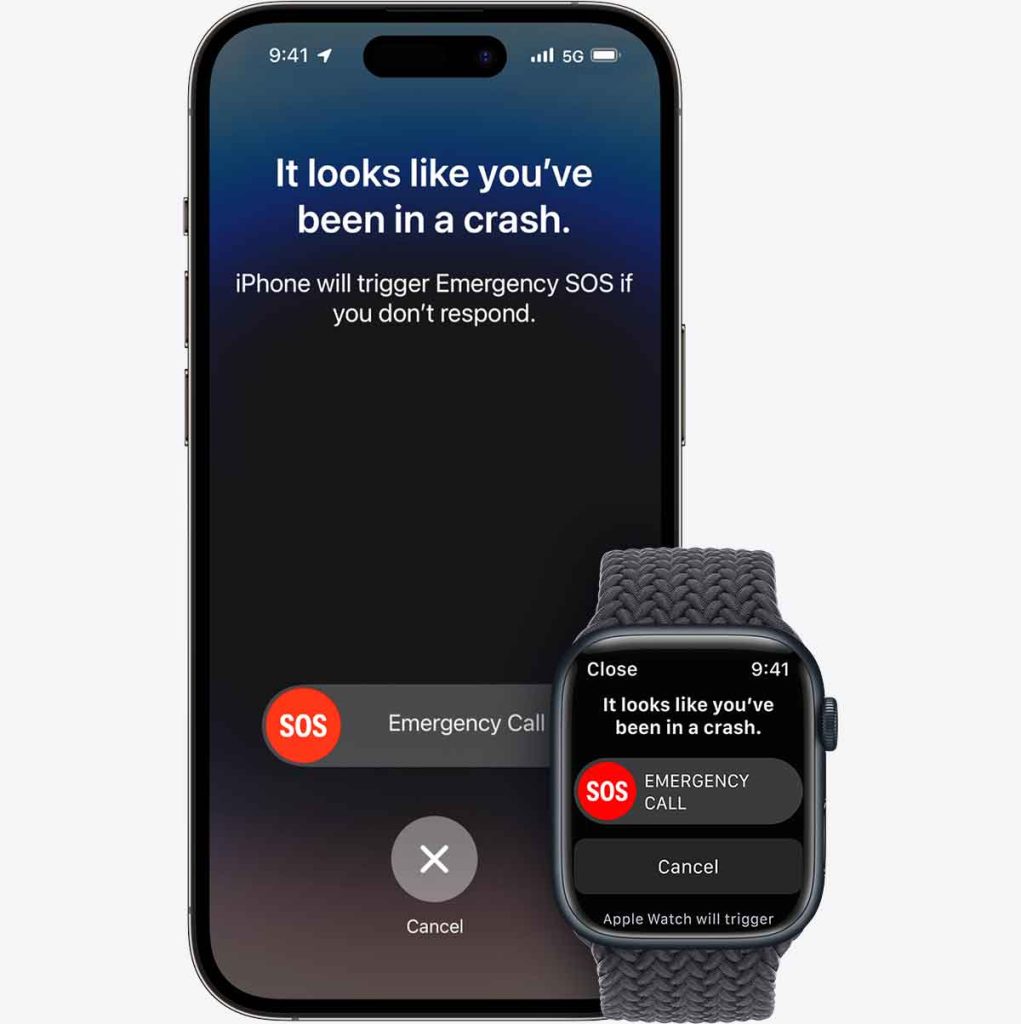
If you’re unable to respond for 20 seconds, your device automatically dials 911 or your local emergency number for you.
It’s worth noting that Fall Detection is an Apple Watch-only feature. Crash Detection is a newer feature available on the iPhone 14 and iPhone 14 Pro and above and newer models of the Apple Watch (Series 8+ and Ultra.)
How to text 911 from your iPhone and Apple Watch
There are certain emergencies when dialing a phone number and speaking is inconvenient or impossible. For those times, the Apple Watch and iPhone both support texting 911 in certain locations.
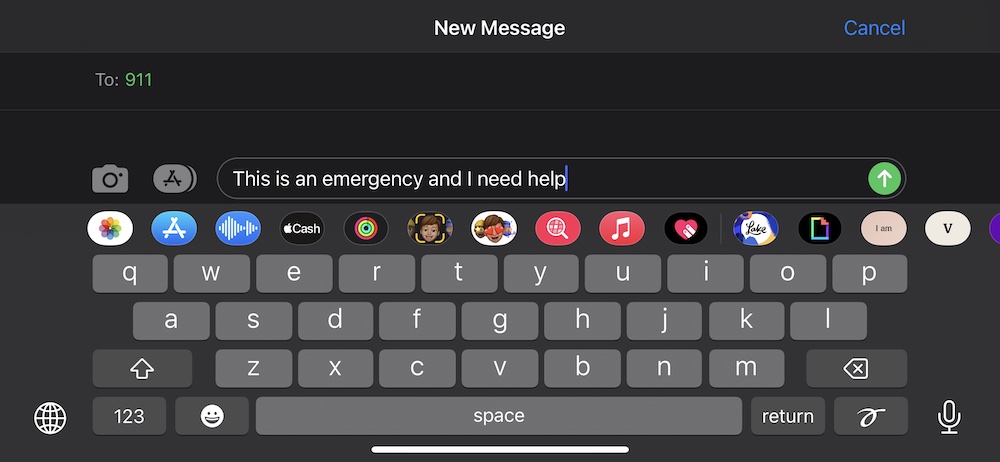
To text 911 from your iPhone or Apple Watch, you’ll need a device running iOS 13 or later or watchOS 6 or later.
Here’s how to text 911 on an iPhone:
- Open the Messages app.
- Type 911 into the “To” field in a new message thread.
- Type in your emergency in the body of the message.
- Hit send.
- Your iPhone enters an emergency mode for 30 minutes.
If you have an iPhone 14 or iPhone 14 Pro, you can also text rescuers without a cellular connection via satellite.

You can also send 911 texts on an Apple Watch by:
- Open the Messages app and start a New Message.
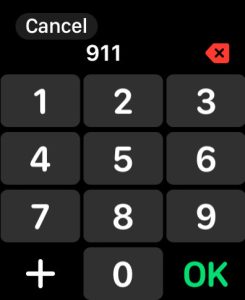
- Choose Add Contact. Tap the number pad and type in 911.

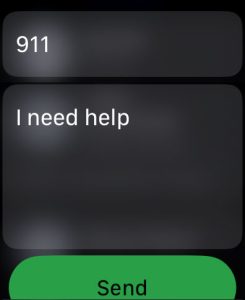
- Tap Create Message. From here, you can dictate using your voice, type a message with the keyboard, or write a message with your finger.

- Tap Send when you’re ready.
You should know that this feature is only supported in locations with the proper emergency infrastructure in place. You may get a bounce-back message if your locale doesn’t support texting 911.
How to use iPhone critical weather alerts 
If you’re running iOS 16 or later on your iPhone, the device can become your severe weather guardian via critical alerts.
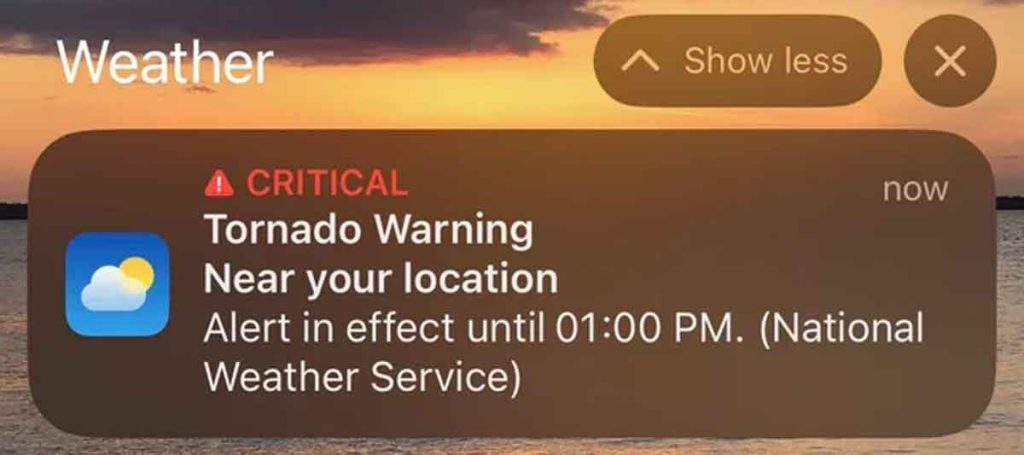
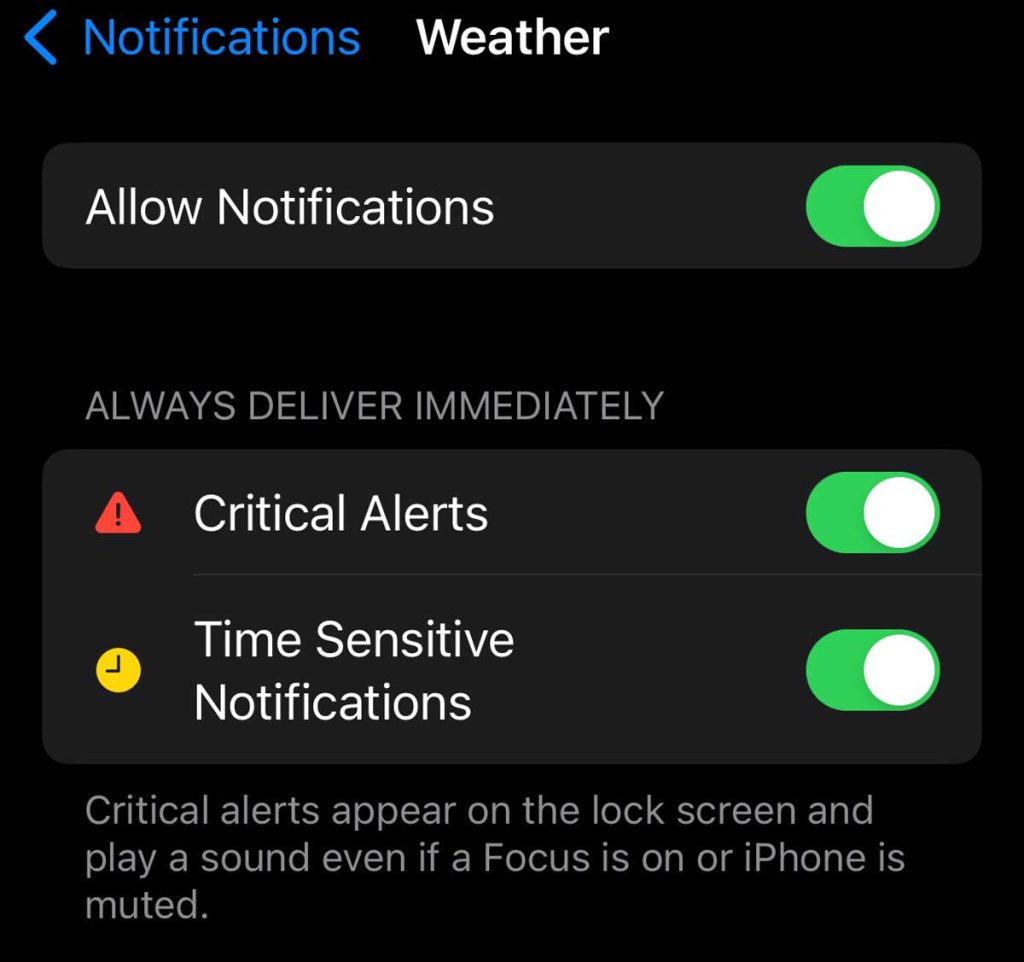
Critical alerts ignore your iPhone or watch’s silent or Focus mode (Do Not Disturb) and play sound regardless of your chosen setting.
When critical alerts are enabled, your iPhone can automatically and proactively warn you of dangerous conditions or events like hurricanes, floods, tornadoes, etc.
Here’s how to make sure that it’s enabled.
- Open Settings on your iPhone. Scroll down and tap on Weather.
- Choose Notifications.
- Tap on Critical Alerts and Time Sensitive Locations to ensure they’re both enabled.

These alerts are only useful if the Weather app has your location.
You can give the Weather app Location Services access by going to Settings > Privacy & Security > Location Services > Weather and tapping Always. 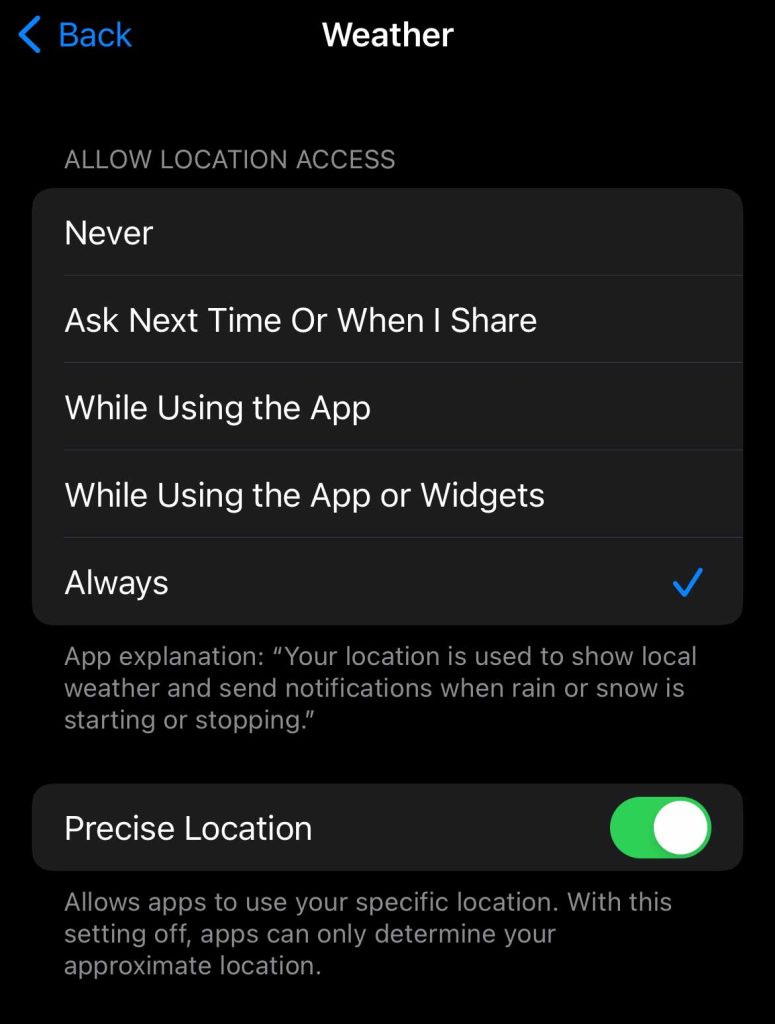
As long as Notifications for the Weather app are enabled on your Apple Watch, you’ll also receive these critical alerts on your wrist.
How to get emergency alerts on your iPhone and Apple Watch
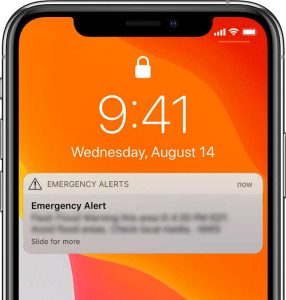 Along with alerts warning you of severe weather, iPhones and Apple Watches have long had the ability to receive public safety, government, or other emergency alerts.
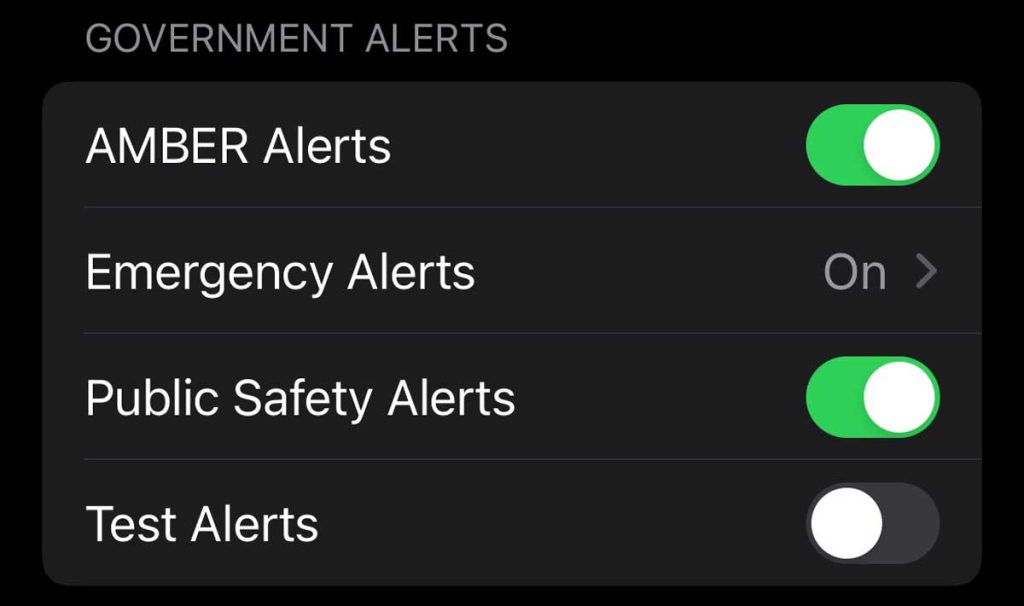
These types of alerts range from imminent threats to life or safety to more routine alerts issued by your regional or country government. They also include AMBER alerts to inform you of missing people in your area.
While you receive government alerts on your Apple Watch, there’s no setting to disable them on watchOS individually. Whatever setting your iPhone has also applies to your Watch.
Government and emergency alerts are enabled on Apple Watch and iPhone by default. If you haven’t changed any settings, you shouldn’t need to do anything to take advantage of this safety feature.
It may be smart to double-check your settings, however. You can turn government alerts on or off by:
- Opening Settings > Notifications. Scroll down to the bottom.
- Tap the toggles on (or off) under Government Alerts.

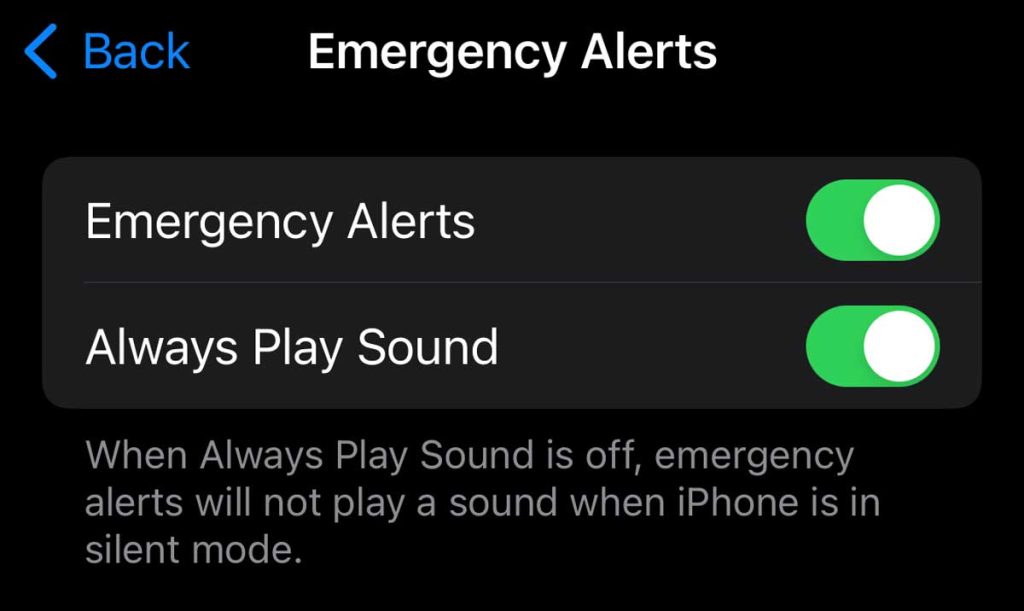
- For Emergency Alerts, you have additional options to show the alerts and/or play a warning sound on your iPhone when one of these alerts is issued.

You can also choose to receive test alerts on your iPhone or Apple Watch. These test alerts are off by default, but you can enable them in Settings > Notifications > Test Alerts.
Test emergency alerts are issued by your local or national government and are meant to test the system to ensure it works. When you receive a test alert, you hear a sound that’s similar to an alarm, and the alert mentions that it’s a test.
How to set up emergency contacts on your iPhone
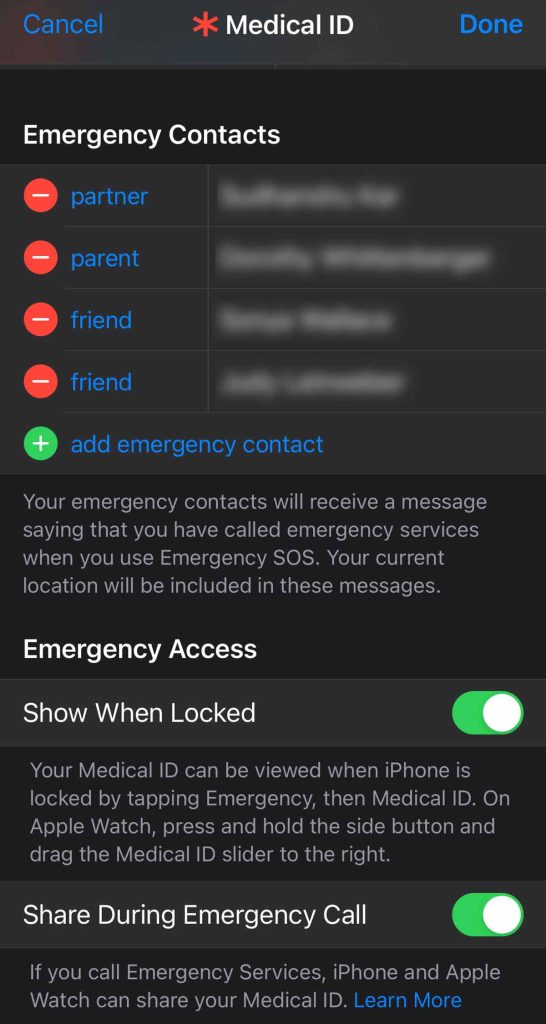
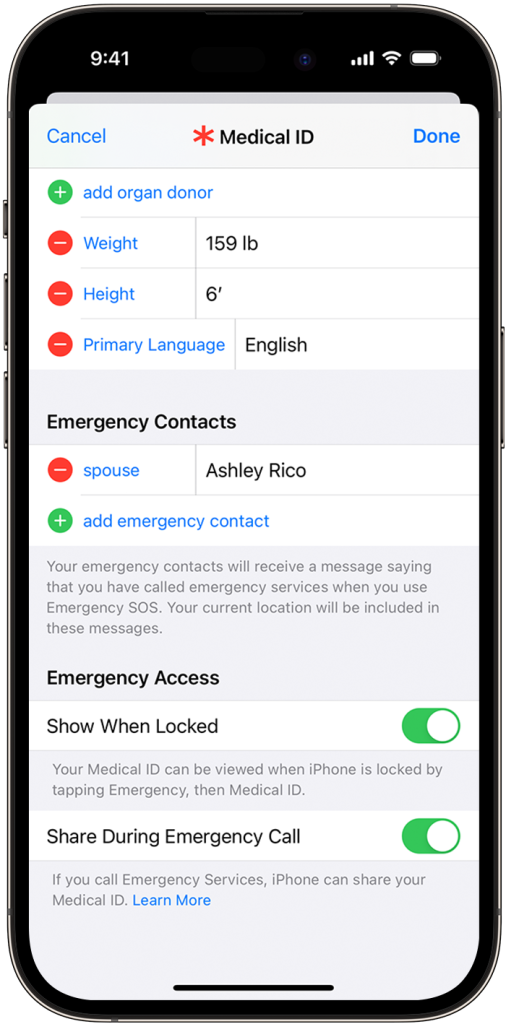 Adding an Emergency Contact and medical information is one of the most practical things you can do for your safety with an iPhone and Apple Watch.
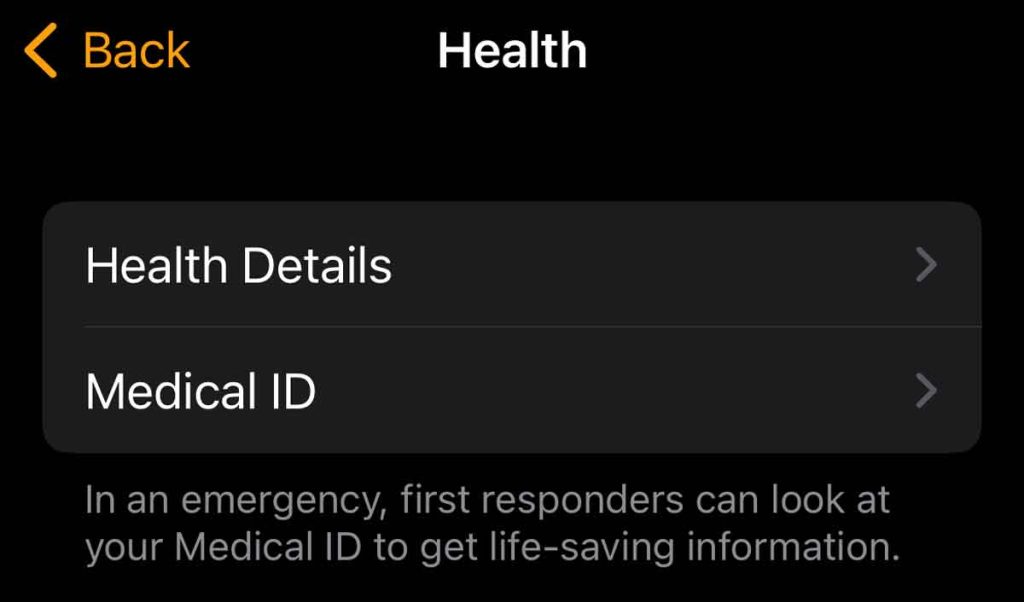
If you’re unresponsive, first responders can access your Medical ID and Emergency Contacts. Your Medical ID can include information like your height, weight, organ donor status, and primary language.
Along with emergency services being able to contact your loved ones or friends, an Emergency Contact also comes in handy with some of the aforementioned safety features.
For example, Crash & Fall Detection automatically sends a message to your emergency contacts with your location. The message also lets them know your situation — whether it’s a crash or the fact that you contacted emergency services.
Here’s how to add emergency contacts on your iPhone and Apple Watch
- Open the Health app on your iPhone and tap your profile icon or picture at the top.

- Choose Medical ID. Tap on Edit.

- Scroll down to Emergency Contacts.

- Tap the green plus button to add a contact.
- You’ll get a list of the people in your Contacts app. Select one.
- You can also select their relationship to you — whether they’re a parent, spouse, friend, or family member.
- Under Emergency Access, toggle on Show When Locked and Share During Emergency Call.
- Tap on Done to save all your contacts.

Although sharing your location with contacts isn’t necessarily a safety feature, it can be used as one.
For example, if you want to ensure your friends get home safely after a night out, you can all temporarily share locations with each other.
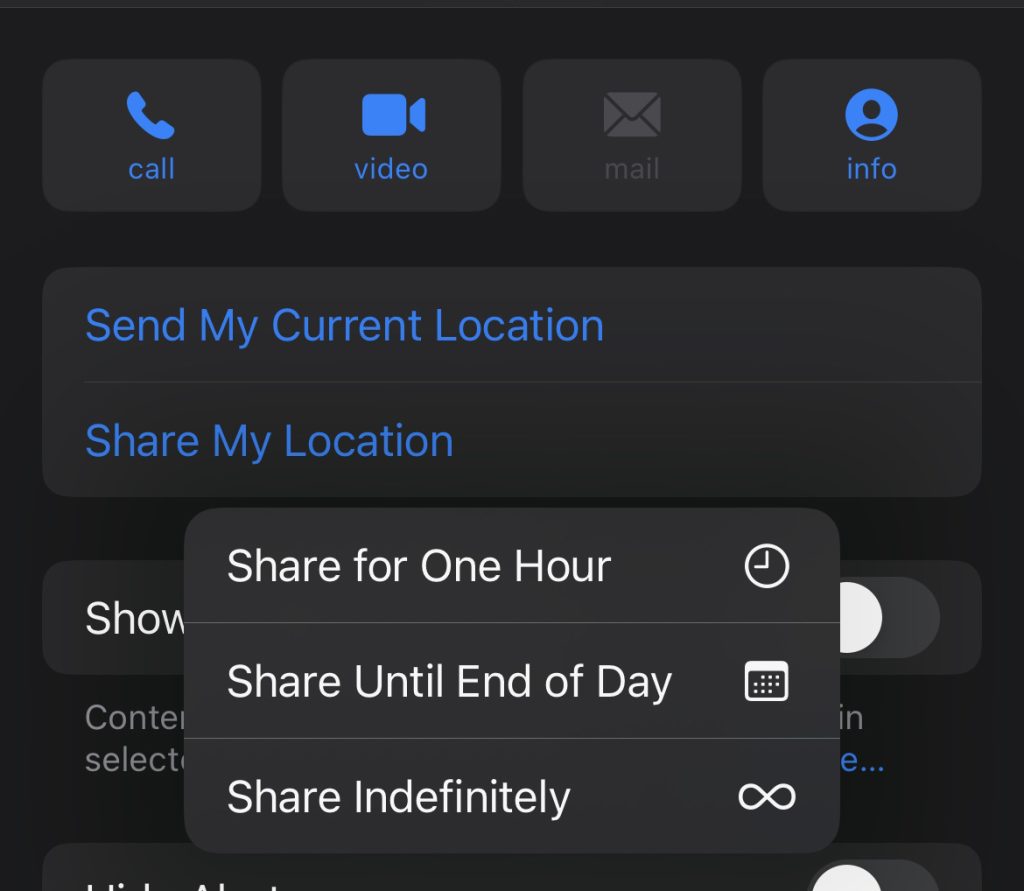
You can share your location with contacts in the Messages app. Here’s how:
- Open Messages.
- Tap on a thread.
- Tap the Contact Icon at the top of the thread.
- From here, tap on Share My Location.
- Choose the time frame — one hour, until the end of the day, or indefinitely.
Use the Messages app Check-In feature 
Another Messages app safety feature is offered in iOS 17+ and watchOS 10+ called Check-In.
It’s basically a platform that makes it easier to let family and friends know that you’ve arrived safely at a destination, like their home, school, work, doctor’s office, or almost any other location.
When you enable a Check In, your loved ones are automatically notified when you arrive at your destination — saving you from having to text them about getting home safely.
If you don’t make any progress to your destination, your iPhone automatically shares some key details with your contact. These include device location, cell service status, and battery life.
On the user side, you can enable a Check In by launching the Messages app, tapping the Plus sign in the message bar, and selecting Check In. 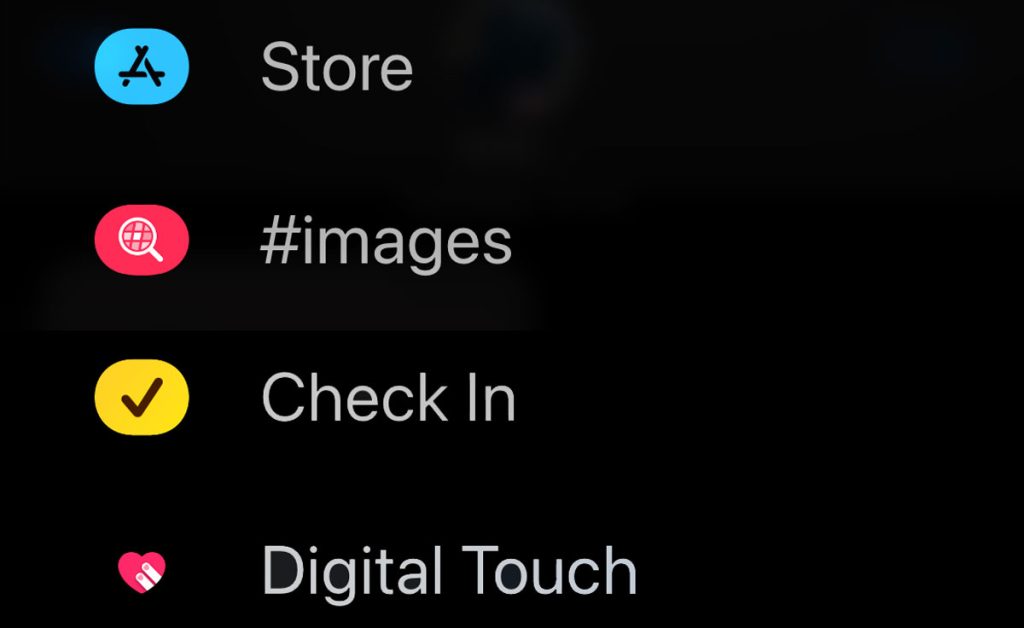
You’ll get the option of sharing either Limited or Full information with your contact. Limited includes the aforementioned data, while Full includes the route you took, the location of the last iPhone unlock, and whether or not your Apple Watch was removed.
If you get delayed, your iPhone will let you know. You can easily tap to add more time on the Home screen so the Check In feature doesn’t alert your friends or family.
Apple Watch Last Cellular Connection Waypoint 
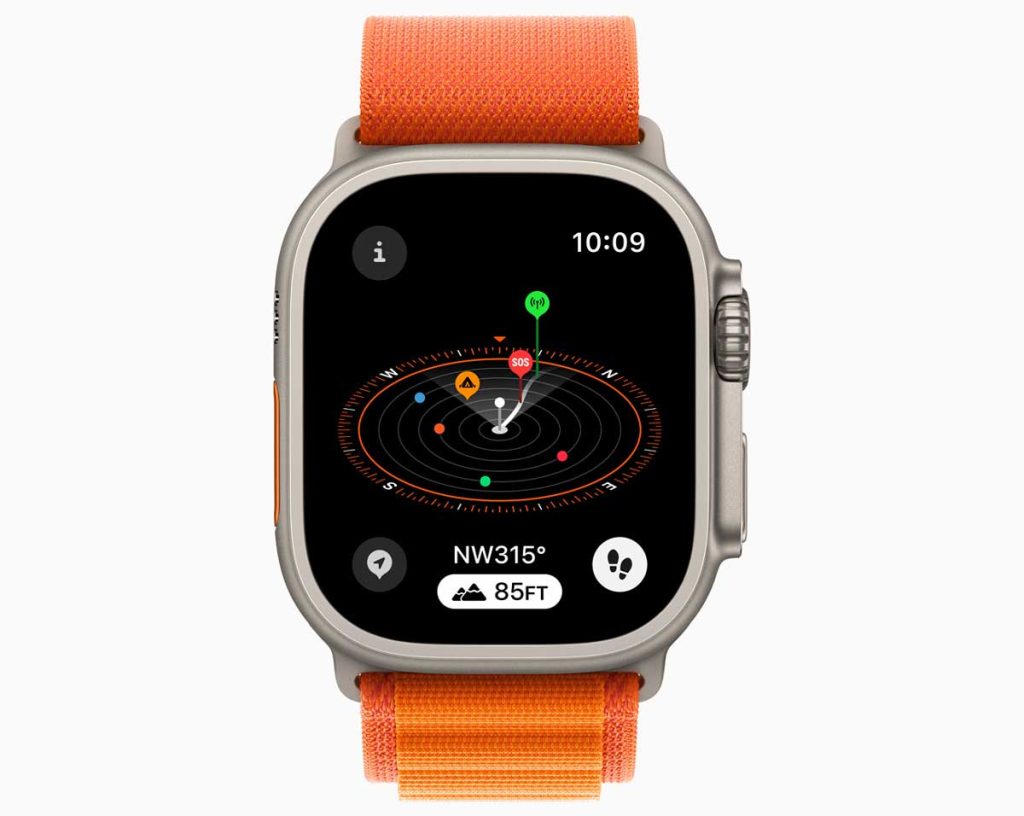
For those who love hiking and escaping civilization, Apple Watch devices running watchOS10+ have a nifty new safety feature to keep you safe in the wilderness.
Basically, it’s a combination of the Compass app and new topographic map support. For one, your Apple Watch tracks elevation and gives you a three-dimensional view of saved waypoints.
In the background, your Apple Watch tracks a Last Cellular Connection Waypoint. This will be a guess at where you might lose cellular reception, which can let you know to text or call your loved ones before you lose service.
Additionally, in case of emergencies, a Last Emergency Call Waypoint estimates where on your route the last connection to any available carrier’s network is. That way, you can get back to that point and make a call.
Apple safety features are critical to know
Safety features on iPhone and Apple Watch are the kind of things that you hope you never have to use. But, in an emergency, they’re features that you’ll be glad you had.
We recommend you set up the following just in case you’re ever in an emergency:
- Your Medical ID so it appears Medical ID that appears on the lock screen of your Apple Watch or iPhone. It lets anyone attending you in an emergency see important health details like your blood type, medical conditions, allergies, and age.
- At least two emergency contacts. Alerts your friends and family when you are in an emergency via a text message that also shows your current location.
- Turn on Fall and Crash detection: alerts emergency services and any emergency contacts.
- Toggle on government alerts and critical alerts for the Weather app so you are aware of any immediate dangers.
Remember them the next time you’re in a stressful situation!


