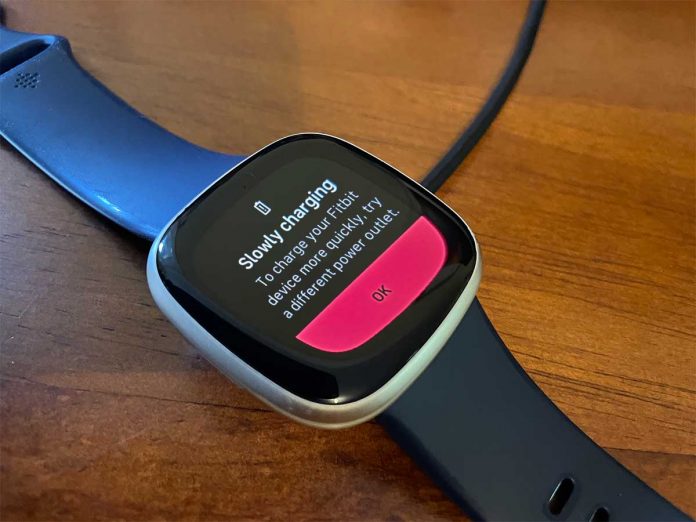
Sometimes, after connecting my Fitbit Versa 3 to its charger, I get a message on its screen that it’s charging slowly and to try a different power outlet. But the thing is, I always charge my Fitbit using the same power source but don’t always get this message.
If I ignore the message, that usually means it takes hours for my Versa 3 to fully charge versus the usual 45 minutes when I don’t get this message.
The same thing occasionally happens to my friend who owns a Fitbit Sense.
So what gives? This article outlines what finally did the trick for me (and my friend) and hopefully works for you. If not, I’ve got some additional troubleshooting tips to share so you never have to deal with a slow-charging Fitbit again.
Contents
- 1 What slow charging means for your Fitbit
- 2 How to get your Fitbit charging quickly and stop these charging warnings on your Fitbit
- 2.1 Charge your Fitbit the right way
- 2.2 Try disconnecting and reconnecting the charging cable
- 2.3 Inspect and clean the contacts and pins
- 2.4 Check the charging pins for proper alignment
- 2.5 Turn off Always-On Display mode when charging
- 2.6 Restart your Fitbit and then charge it
- 2.7 Fully discharge your Fitbit so it’s down to less than 5% remaining battery, and then recharge it
- 2.8 Factory reset your Fitbit
- 3 Contact Fitbit Support
Related reading
- Fitbit Versa or Sense not charging? What to do if your Fitbit won’t charge
- How to check the battery level on your Fitbit
- How to contact Fitbit customer support about problems and warranty info
What slow charging means for your Fitbit
Most Fitbits charge fully from 0-100% within 1-2 hours. If your Fitbit takes more time than a few hours, then it’s charging slower than it should.
If you charge your Fitbit overnight, it may not matter that it charges slowly. However, folks that wear their Fitbits overnight to track sleep and other health metrics (like snoring!) need their Fitbits to charge fast.
Since I often wear my Fitbit to bed, I couldn’t wait hours and hours for my Versa 3 to charge. So, I needed a solution that allowed me to fast charge my Fitbit while showering and getting ready for the day.
Important notice for Fitbit Ionic owners
Google is recalling all Fitbit Ionic smartwatches due to the possibility that the lithium-ion battery can overheat, posing a burn hazard.
If you own an Ionic, Fitbit recommends you immediately stop using it even if it’s working normally and apply for a refund via this Ionic refund site. You’ll need to fill out a form and receive a return kit with instructions on returning your device for a refund.
This refund applies to all Fitbit Ionic watches, even inactive units.
You should receive a full refund and a special discount to purchase a replacement Fitbit device or other products and services if available in your region. This special discount is available for a limited time and is valid for 90 days after registering for your Ionic refund.
How to get your Fitbit charging quickly and stop these charging warnings on your Fitbit
Before troubleshooting, check if there is a firmware update for your Fitbit via the Fitbit app. Although this problem is usually hardware related, some Fitbit users found that updating their Fitbits solved the battery charging slowly issue for them.
Charge your Fitbit the right way
Make sure you charge your Fitbit using its original charging cable (or Fitbit branded replacement) via an approved method: a USB port on your computer, a low-energy charger, or a UL-certified USB wall charger.
Fitbit says that we should NOT charge via a USB hub or a power bank–these often don’t push out enough power to quickly charge your Fitbit.
If you charge your Fitbit using a laptop’s USB port, make sure you plug your laptop into a power source so it’s charging, and then plug in your Fitbit to charge.
Also, some folks find that charging their Fitbits via a power strip or mobile charger connected to a wall outlet works better and more consistently than charging their Fitbits using a computer’s USB port. 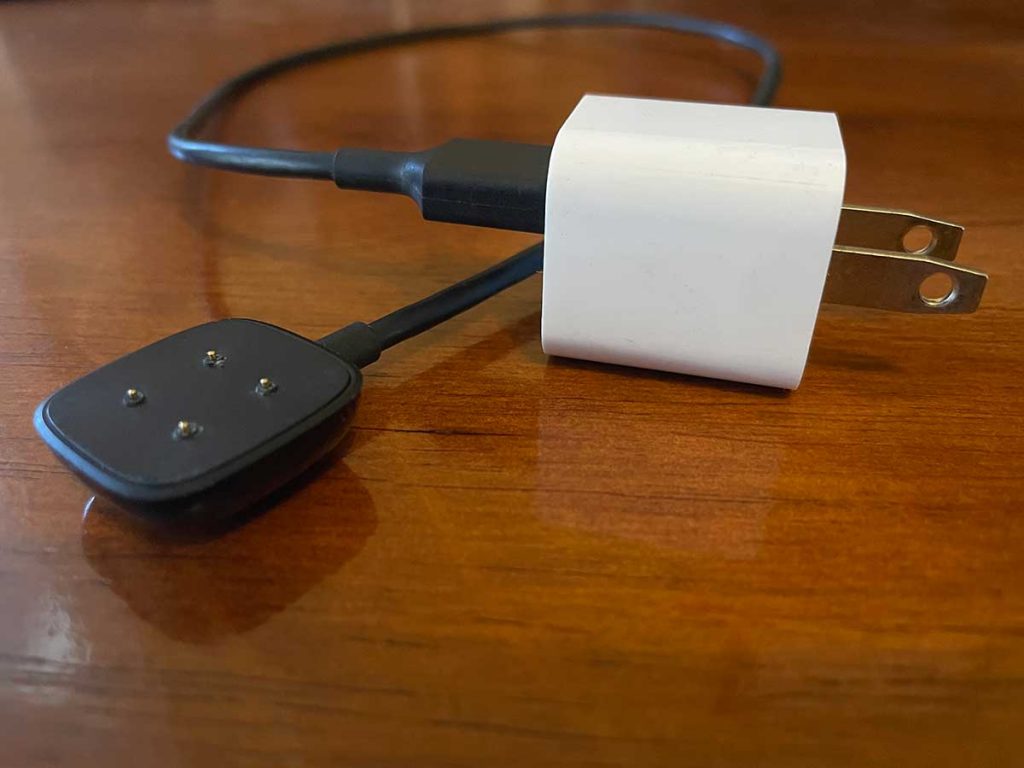
I charge my Fitbit using my iPhone’s charging brick connected to a UL-certified power strip, so it’s on Fitbit’s list of okay’d charging methods. Plus, I tested that port with another device just to make sure it didn’t have any issues, and it didn’t.
Try disconnecting and reconnecting the charging cable 
When you see the “slowly charging” message on your Fitbit, remove the Fitbit from the charger and then unplug the cable from whatever power source, it’s connected to.
Wait a few seconds, then plug it back in and place your Fitbit back on the charger–make sure it snaps into place. For many people, including me, that message then often disappears.
Unfortunately, while this solution did work for me a few times, it didn’t consistently get rid of the slowly charging message on my Fitbit Versa 3.
Inspect and clean the contacts and pins 
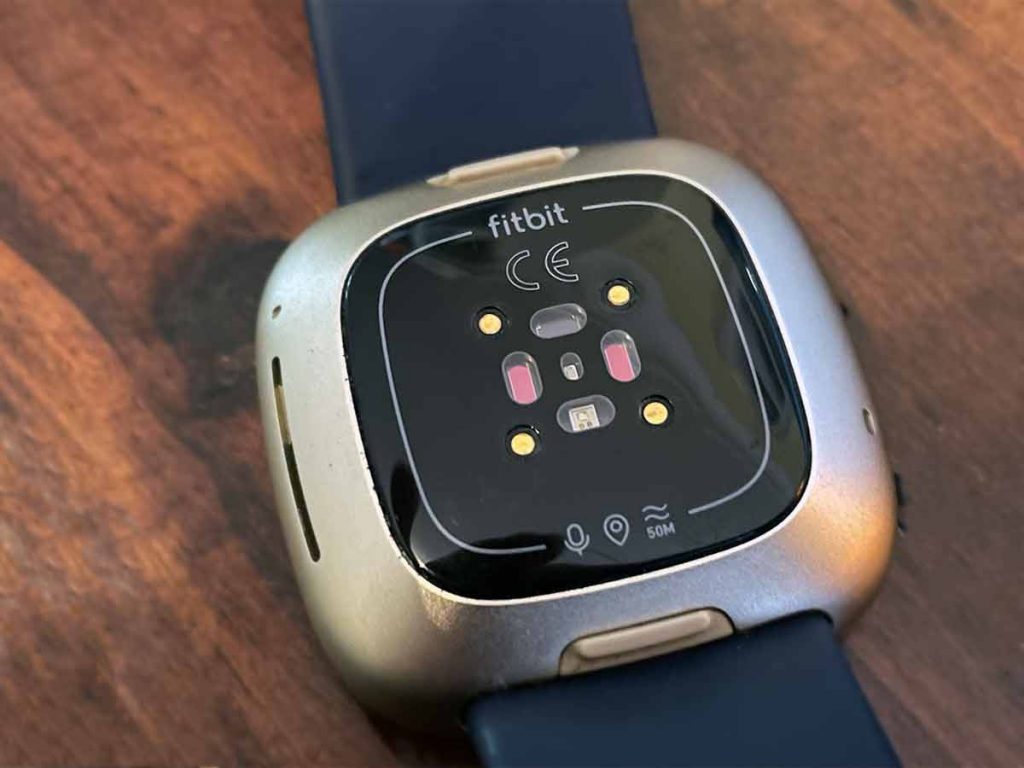
If you wear your Fitbit all the time, it likely accumulates dirt, sweat, lotions (including minerals like zinc oxide from sunscreen that can clog your charging contacts and pins), and other grease and grime from your activities.
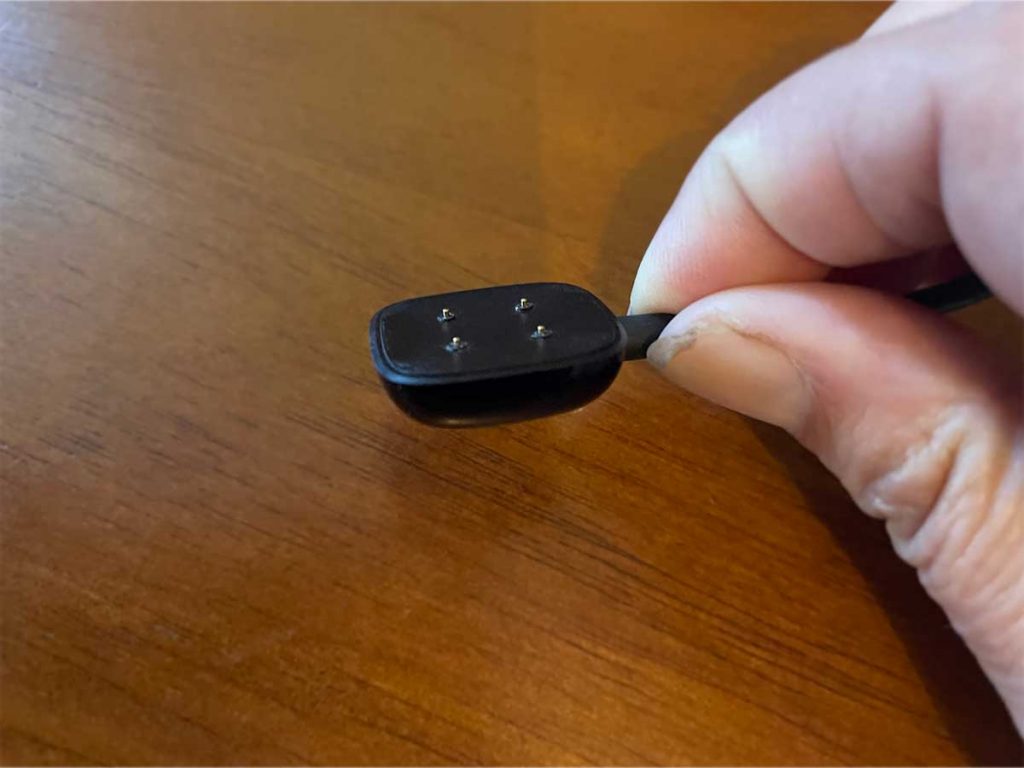
And if you don’t clean your Fitbit before placing it on the charger, the charger and charging pins might also get dirty. Mine certainly did–there was a bunch of lint and other grime surrounding each pin. It definitely needed cleaning.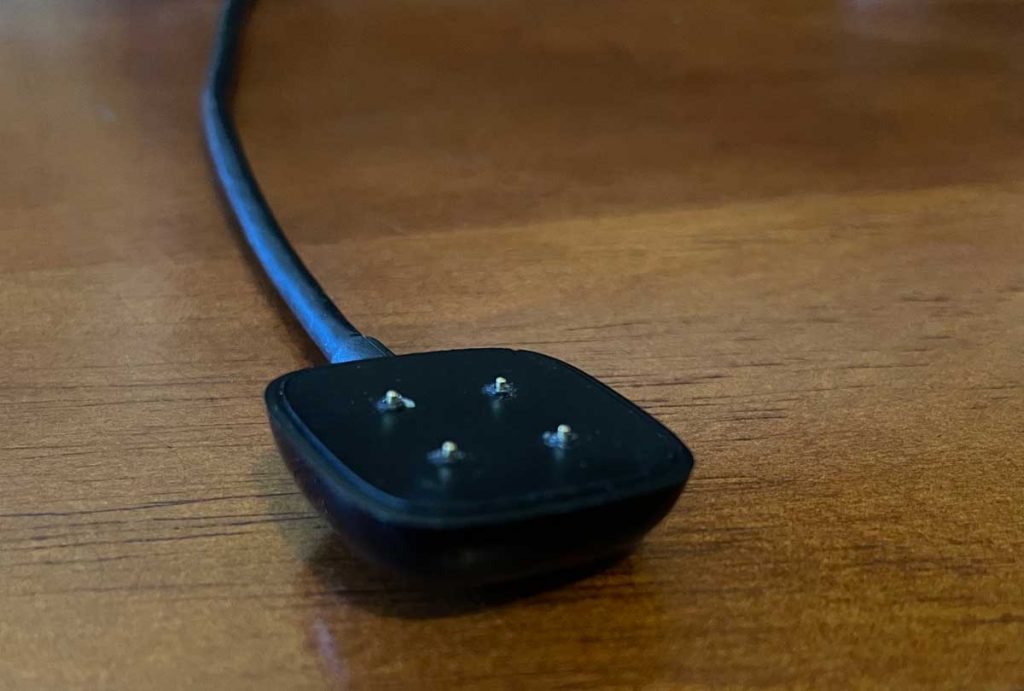
So give both your Fitbit and your charger a good old-fashioned cleaning.
- First, shut down your Fitbit, if possible, and unplug the charging cable from power.
- Take a look at the charging contacts and pins–they should be bronze or gold in color and not rusted or tarnished.
- Clean your Fitbit and the charging cable or charger using a microfiber cloth, toothbrush, interdental brush, Q-tip, and a little rubbing alcohol.
- Always apply the alcohol to the cloth, swab, or brush–never apply it directly on your Fitbit or the charging pins.
Cleaning my Fitbit’s contacts and the pins on the charging cable made a big difference for me.
There seemed to be a lot of grime on those contacts, and the charging pins were also a bit tarnished. I actually used a slightly damp magic eraser (melamine foam that acts like extremely fine sandpaper) to clean those charging pins and scrap away any stuck-on grime.
For me, this deep cleaning did the trick–I’ve charged my Fitbit Versa 3 for a few weeks while getting ready each morning, and it always charged to about 80% in less than 30 minutes!
Sadly, for my friend with the Fitbit Sense, this deep cleaning didn’t solve her issues with a slow-charging Fitbit.
Check the charging pins for proper alignment 
When cleaning the charger or charging cable, check for any misalignment between the charging pins affects the charging process. Look for any uneven recessed or pushed-in pins. All your pins should be the same height.
If not all pins are even, your Fitbit’s charging cable or charger may have a pin that did not spring back out of the connector. See if you manually pull that pin back into place or use your Fitbit or even a magnet to magnetically pull the pin back into place.
Replace the charging cable
If you can’t get the charging pins even and a pin won’t come out and remains recessed, this is likely your charging problem.
Contact Fitbit Support for a replacement charging cable if your Fitbit is still under warranty, and if not, replace the charging cable. Fitbit recommends purchasing a Fitbit branded replacement cable, but many people have success with third-party brands–do your research and read reviews!
Each Fitbit model includes a different style of charging cable, so double-check that the charger you choose fits your device model.
My friend with the Fitbit Sense discovered that her charging cable pins were the problem, with one stuck inside. So she contacted Fitbit Support and got a replacement charging cable (at no cost because it’s under warranty), and now her Sense charges within an hour!
Turn off Always-On Display mode when charging 
Another tip that works for some is to turn off the always-on feature when charging. I’m not sure why this one works, but it can’t hurt to try.
- To turn off always on display, open your Quick Settings on your Fitbit and tap it off. Features are off when they aren’t highlighted.
- Then place your Fitbit on the charger and see if it charges quickly.
Restart your Fitbit and then charge it 
Restarting your Fitbit before you charge it can also help get a faster charging time.
I’m not sure why this works other than restarting clears out temporary files and temporarily stops open apps and other functions.
Again, it’s worth a try!
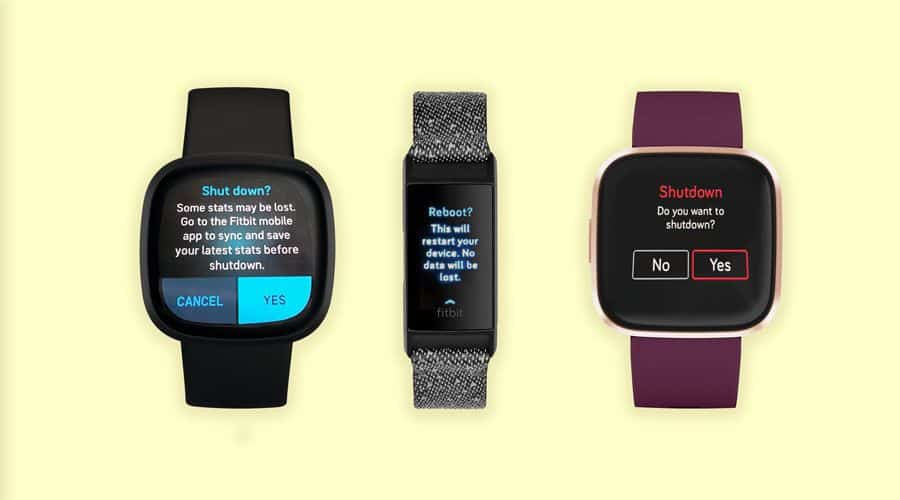
On most Fitbits, you restart by pressing the side button(s) or via the reboot/restart/shutdown function available in the Settings app. Learn how to restart your Fitbit model in this article: Need to restart or reset your Fitbit? Learn the steps
Fully discharge your Fitbit so it’s down to less than 5% remaining battery, and then recharge it 
Fitbit’s modern rechargeable lithium-polymer battery shouldn’t have the battery memory problems of the old days, but some say they do.
So let your Fitbit run down to less than 5% of the remaining battery before charging it. You should get an email or notification that your Fitbit’s battery is low.
Letting your Fitbit’s battery drain down should remove any memory the battery has and allow it to charge the battery fully.
Factory reset your Fitbit 
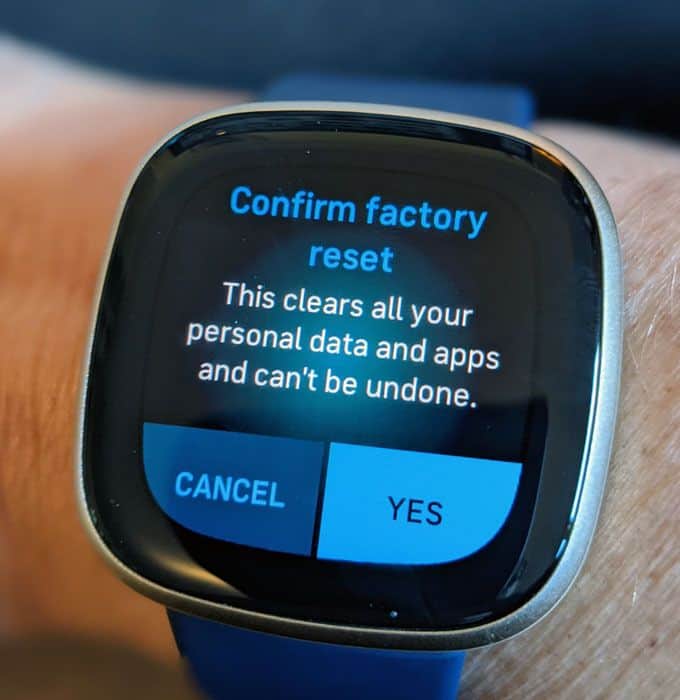
When you factory reset your Fitbit, you remove all its data and personalized settings and return it to its factory shipped state.
Resetting your Fitbit removes apps, stored health and fitness data, personal information, credit and debit cards or Fitbit Pay-enabled devices, and other saved settings.
Resetting your Fitbit may help with slow charging if there’s a setting or app causing this problem. Frankly, it’s not likely, but some people tell us their Fitbits charged normally after resetting it. And that’s why we include this tip.
On most Fitbits, you factory reset your device via the Settings app and choose either Factory Reset or Clear User Data–they do the same thing!
To find out how to factory reset your Fitbit by model, see this article: Need to restart or reset your Fitbit? Learn the steps.
Contact Fitbit Support
If none of these steps worked for you, it’s always a good idea to reach out to Fitbit’s support team and let them know what’s happening, especially if your Fitbit is in its warranty period.
If you suspect the charging cable is the issue with your Fitbit not charging or slowly charging, ask Fitbit Support to send you another charging cable–hopefully for free.

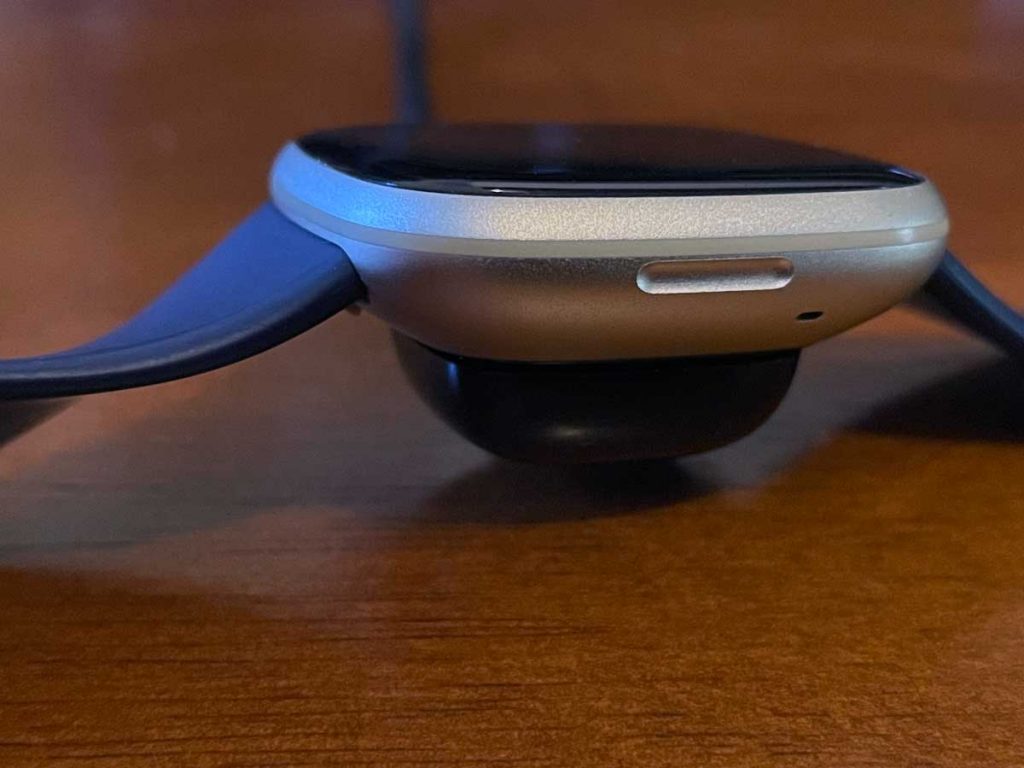




I contacted Fitbit because I’ve had a similar issue with two prior Fitbits when they get to be about a year old.
This Fitbit is charging very slowly (Fitbit sense), and the Fitbit customer service representative recommended turning off the snore function.
Apparently, this function will cause or contribute to slow charging. But this representative also told me I had been using that snore function for more than two years when in fact, it was turned on for the first time on July 4, 2022; I didn’t have a problem charging really until December 2022.
And again, this is my third Fitbit, each a different type of Fitbit, and each now has had a problem when it reaches about a year.
Right now, I have turned off the snore function, and I have shut down my Fitbit. I have no idea if this is going to fix the problem yet.
Hi FS,
Wow, that a lot of different models that had the same problem with slow charging. Please keep us posted on this issue to see if turning off snore detection works.
Thanks for sharing your insights and experience,
Amanda
The Sense chargers are junk and you will have to replace them about every month. This infuriates me and I will never buy another fitbit product ever again! Customer service is a joke
I have noticed that I get the “slowly charging” message when, in fact, it’s charging normally.
I hit the screen to clear the message and monitor the charging percent rate.
If it’s going up normally, I just ignore it.
It seems to do this three or four times when I charge it.
I generally don’t let it get much under 40% before charging. I think that there’s a software problem in the Fitbit sense that sometimes falsely declares slow charging in error.
HI Dan,
Thanks for letting us know that the slowly charging message sometimes shows up in error!