Should you use Fitbit’s GPS function? If you want to upgrade your exercise routine, it’s best to start tracking your activities using GPS.
Get set up and analyze your workouts through Fitbit’s Intensity Maps showing you your route, distance, heart-rate zones, and pace.
Some Fitbits have built-in GPS, and others rely on the Global Positioning of your paired smartphone. Here’s everything you need to know!
Contents
- 1 Does my Fitbit device have GPS?
- 2 Looking to turn off GPS on your Fitbit?
- 3 How do I turn on GPS before an exercise on my Fitbit device?
- 4 How do I allow my Fitbit device to use my phone’s GPS sensors?
- 5 Fitbit’s built-in GPS not working? GPS signal missing?
- 6 Fitbit’s Connected GPS not working? Or is the GPS signal missing?
- 7 Summary
Related reading
- How to turn off GPS on your Fitbit watch or tracker
- Is your Fitbit battery draining too quickly? Tips that work!
- How to contact Fitbit customer support about problems and warranty info
- How do I get my Fitbit repaired or replaced under warranty?
- Find your Fitbit’s serial number
Does my Fitbit device have GPS?
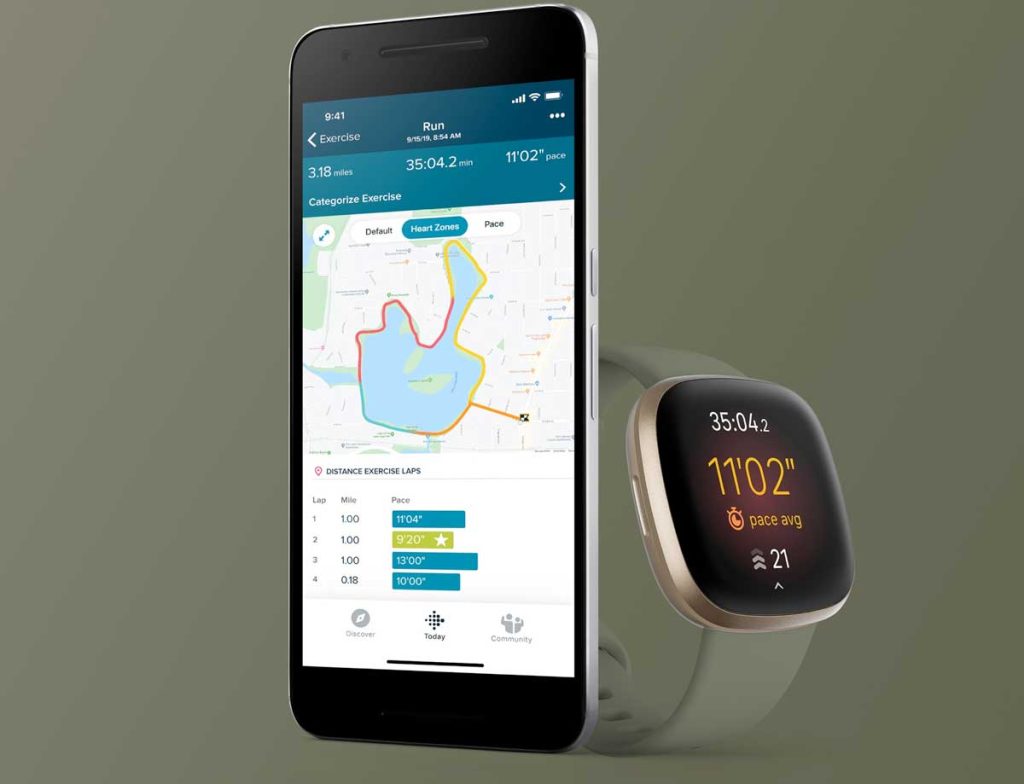
Fitbit models with built-in GPS
The Google Pixel watch, Fitbit Sense series, Versa 3 and above, Ionic, and Charge 4 and above all feature both built-in GPS + GLONASS.
With Built-In GPS, your Fitbit records your position during outdoor runs, rides, walks, hikes, and more. This GPS lets you see your pace and distance and view a workout map in the Fitbit app.
While the Charge 4+ offers built-in GPS, it primarily uses your phone’s GPS to save battery when your phone is nearby. If you don’t take your phone, Charge 4 and 5 use its built-in GPS.
What is the GLONASS option of Fitbit’s GPS feature?
GLONASS is Russia’s global positioning satellite system that works with GPS to provide your Fitbit with position information.
GLONASS helps connect your Fitbit to satellites faster than GPS alone and provides enhanced GOS performance.
Fitbit’s Connected GPS
The Fitbit Luxe, Blaze, Fitbit Charge 2, Fitbit Charge 3, Fitbit Inspire 2 & Inspire HR, Fitbit Versa, Versa Lite, and Versa 2 devices all solely use the GPS sensors on your smartphone to capture data.
So, keep your phone near your device to capture your activity!
For Connected GPS to work, make sure you pair your Fitbit to your phone and turn on Bluetooth.
And, check that Allow Location Access is set to Always or All the time for the Fitbit app on your phone.
Looking to turn off GPS on your Fitbit?
To learn how to turn GPS off, check out this article for those steps: How to turn off GPS on your Fitbit watch or tracker.
How do I turn on GPS before an exercise on my Fitbit device?
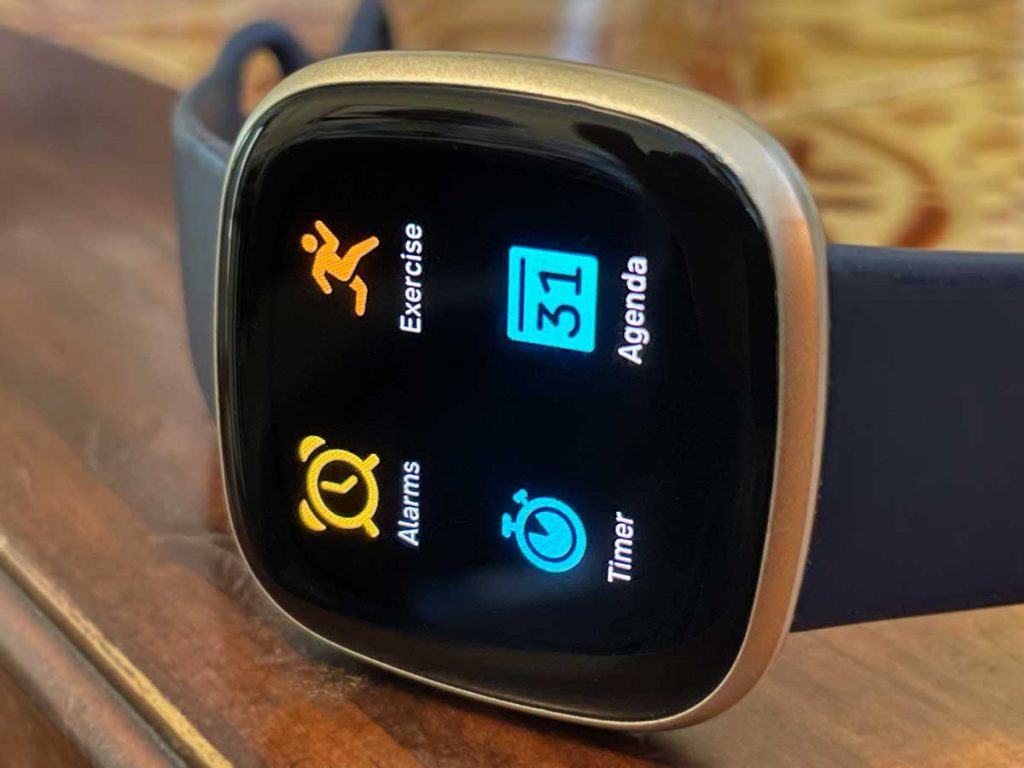
In general, for all Fitbits, you use the Exercise app to track your workout’s route using GPS. Only activities where you cover physical distance offer GPS tracking.
- On your Fitbit, open the Exercise app and choose an activity type.
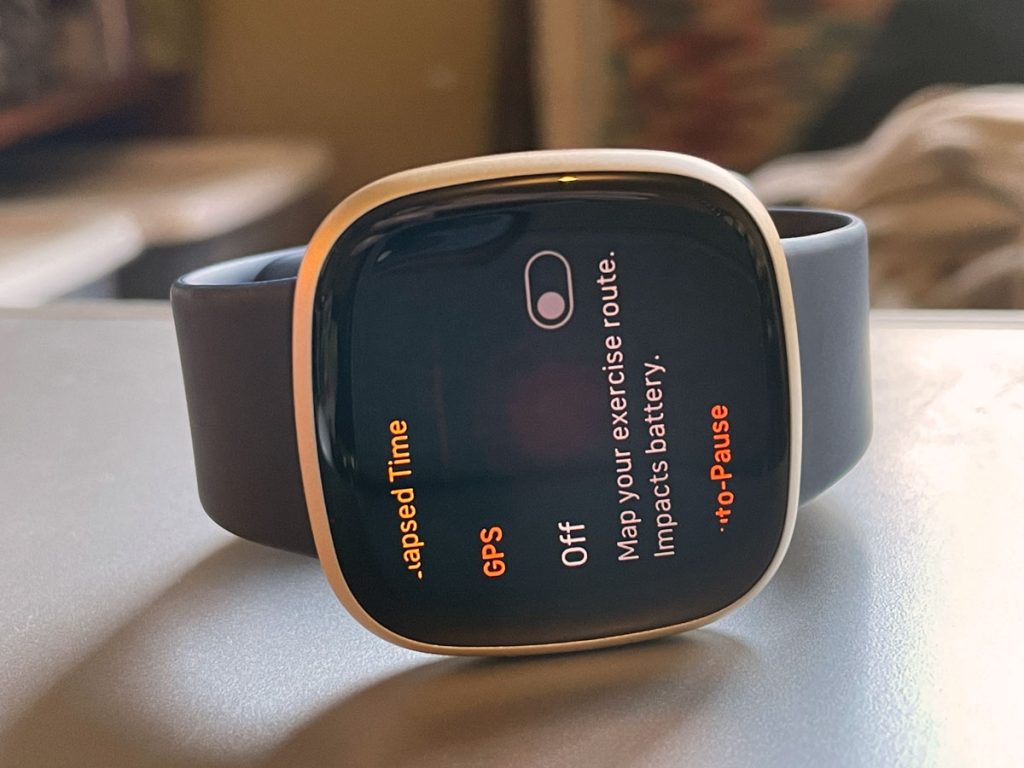
- Scroll down and check that GPS is on before you start the activity–if you turned it off in the past, you need to turn it back on. Not all Fitbits offer this option.
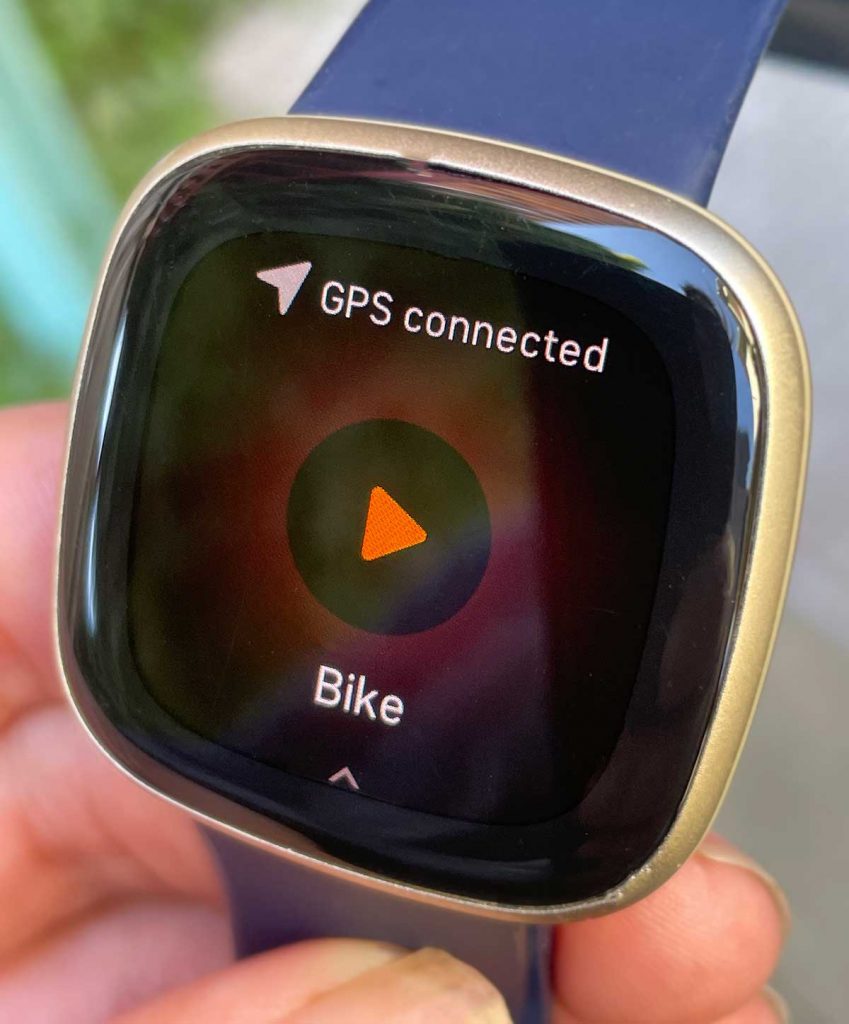
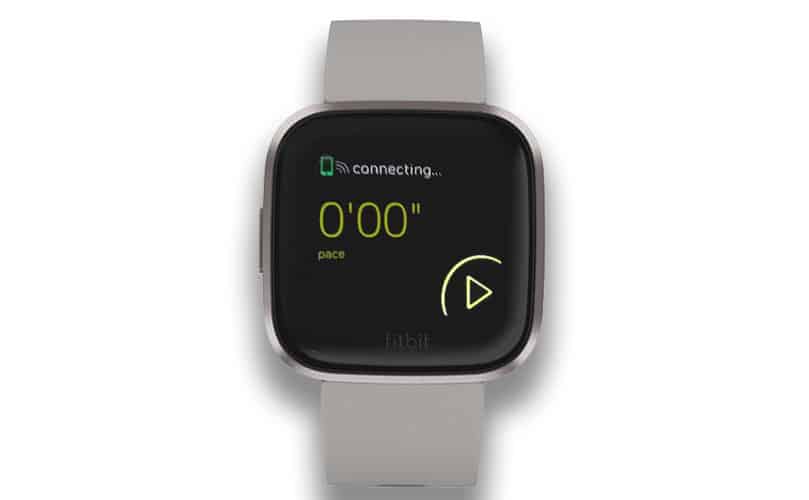
- Wait for your Fitbit to show that GPS is connected.
- Once GPS is active, tap the play icon and begin working out.
If the GPS signal disconnects, don’t stop exercising. Your phone or Fitbit device continues to search for a signal and should reconnect once found.
Fitbit Ionic & Versa Series and Sense Series 
- Open the Exercise app and scroll to the exercise you want to track.
- Tap the settings gear icon and make sure GPS is On. If not, tap it once to turn it on.
- You may have to swipe up to find this option.
Only The Sense Series, Versa 3+, and Ionic offer built-in GPS. The Versa, Versa Lite, and Versa 2 use GPS sensors on your nearby phone to capture GPS data.
Fitbit Charge 5 
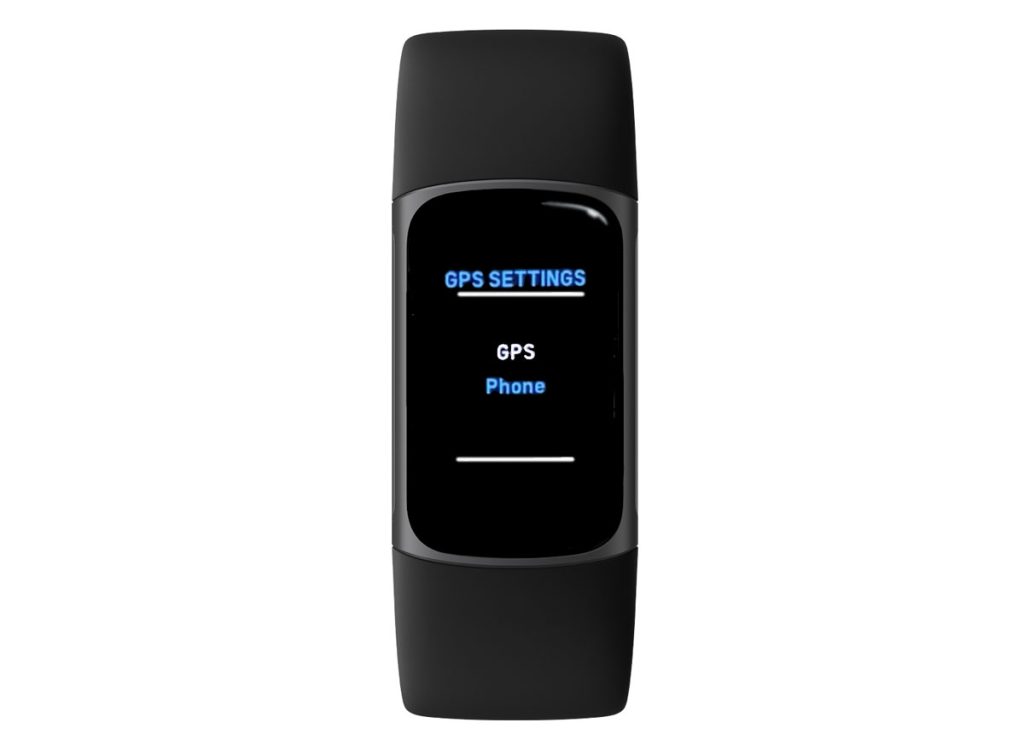
- Set your Charge’s GPS mode by opening the Settings app > GPS > GPS Mode.
- Choose Built-in, Dynamic, or Phone GPS.
- We recommend using Dynamic or Built-in unless you always carry your phone with you.
- If the GPS signal is lost while working out, your Charge 5 cannot switch to a different GP; i.e., it must use the same GPS setting during the entire workout.
- Open the Exercise app and locate the exercise you want to do.
- Tap the exercise, then swipe up and make sure GPS is on.
Fitbit Charge 4 & Charge 3
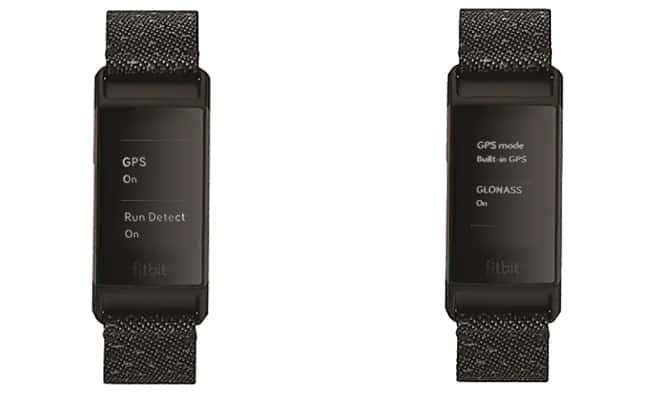
- To use GLONASS (Charge 4 only), open the Settings app > GPS Settings > GLONASS and turn it on.
- GLONASS works only when your Fitbit uses built-in GPS–it does not work when your Charge 4 uses your phone’s GPS sensors.
- Open the Exercise app and swipe to find the exercise you want to track.
- Swipe up, and make sure GPS is On. If not, tap it once.

- If the GPS signal is lost while working out, your Charge 4 cannot switch to a different GPS; i.e., it must use the same GPS setting during the entire workout.
Fitbit Luxe
- On your Luxe, open the Exercise app.
- Choose your exercise type.
- Swipe up through the exercise settings to locate GPS.
- Tap GPS to turn it on.
- Wait for the screen to show GPS connected and for your Luxe to vibrate before starting your exercise.
Fitbit Inspire Series
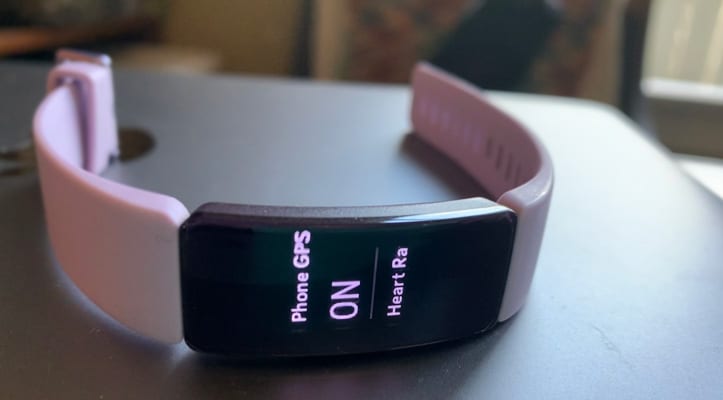
- Click on the Settings app and make sure Phone GPS is On. If not, tap it once.

Fitbit Blaze
- In the Fitbit app, click on Exercise Shortcuts. Open the exercise you want to track, and ensure Connected GPS is turned on.
- If GPS doesn’t connect, confirm GPS is enabled on your device by pressing the gear icon and ensuring Use Phone GPS is on.
Fitbit Charge 2
- In the Fitbit app, click on Exercise Shortcuts.
- Tap the exercise you want to track and ensure Connected GPS is turned on.

How do I start a workout with GPS on my Fitbit device?
- Open up the Exercise app on your device, and click on an activity.
- Remember, only activities where you cover physical distance, such as running, walking, or cycling, give you GPS tracking.

- Remember, only activities where you cover physical distance, such as running, walking, or cycling, give you GPS tracking.
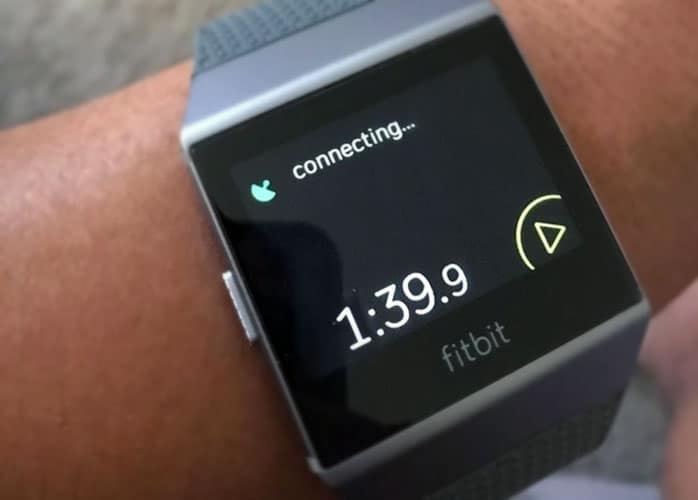
- Wait for GPS to connect. You should see a message that your device is connecting. This process may take a while, depending on your location.

- Once connected, press the play icon to start your activity.
How do I see GPS data captured by my Fitbit device?
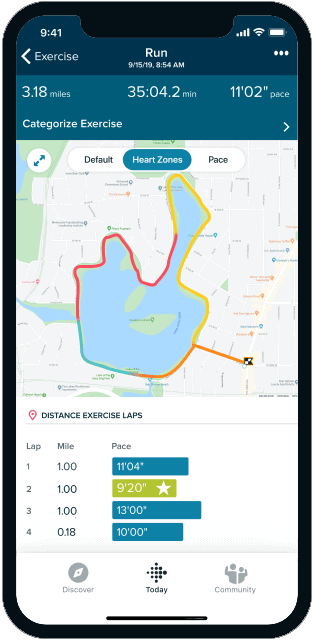
Once you’ve ended your workout, open the Fitbit app, and tap the Exercise tile.
You’ll then see a workout intensity map that shows your route, distance, heart-rate zones, and pace. Tap on the map to further analyze your activity.
How do I allow my Fitbit device to use my phone’s GPS sensors?
Turn on Fitbit’s Connected GPS for iPhones
- First, you’ll need to ensure your phone can track your location when you’re out of WiFi range. To do this, open Settings, then Cellular, then ensure Cellular Data is turned on.
- Now make sure your phone can continue tracking your location when your phone is locked. Go to Settings, then General. Next, press Background App Refresh, search for the Fitbit app, and ensure it’s turned on.

- Finally, confirm your phone can identify your location. Settings, then privacy, then make sure Location Services is set to On. Search for Fitbit in the app list, and change Allow Location Access to Always. For best GPS data, also toggle on Precise Location.

Turn on Fitbit’s Connected GPS for Android and Windows 10 Phones
- Like iPhones, ensure your phone can track your activity by turning on cellular data.
- Ensure your phone can continue to track your location while it’s locked. How you do this varies by model–check with your device’s or operating system’s user guide or manual.
- Make sure your phone can identify your location by turning on Location Services in your privacy settings.
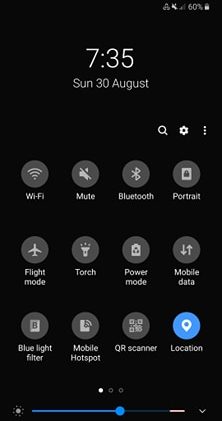
You want to see a notice that Connected GPS is running for Fitbit. 
How do I export my GPS Fitbit account data?
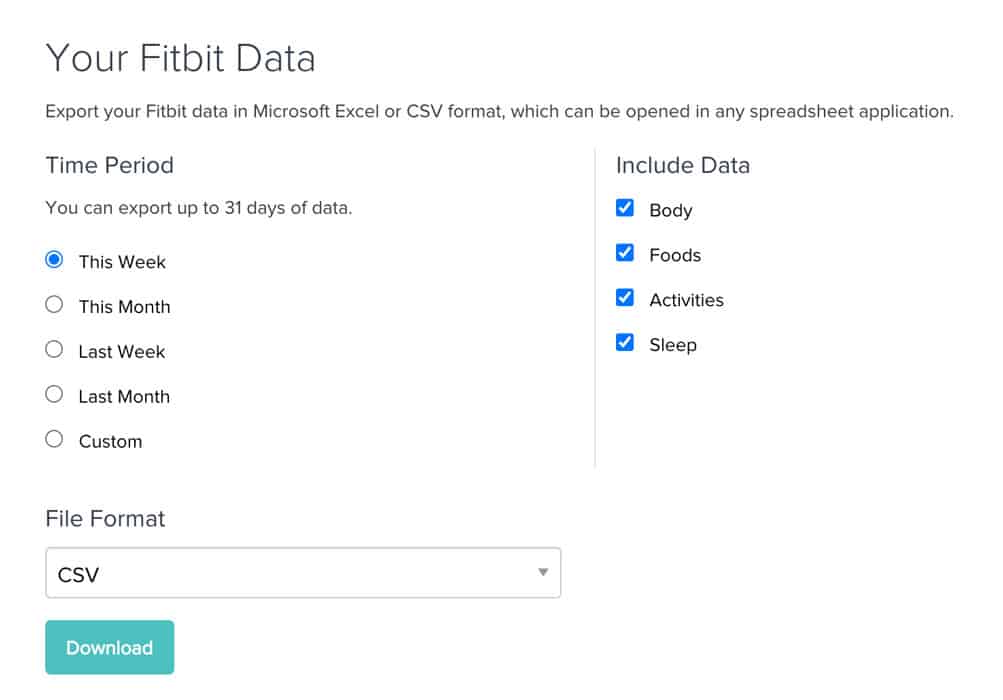
You can quickly export up to 31 days of your most recent Fitbit data or successfully export archived Fitbit data from any activity since you activated your account.
However, exporting archived data is a little more complicated.
To export your recent Fitbit account data:
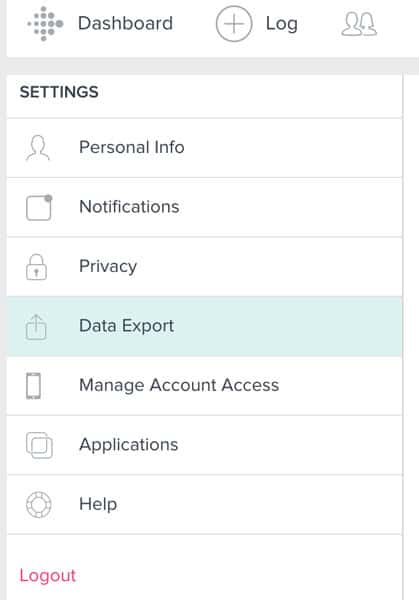
- From Fitbit’s online dashboard, log in to your Fitbit account.
- Click the gear icon and choose Settings.

- In your account’s sidebar, choose Data Export.

- Choosperiodperiod and data you want to include and the file format.
- Click Download.

By downloading your data as a .GPX, .TCX or .FIT file, you can upload your activities to applications like Strava.
To export your archived Fitbit account data:
- From the fitbit.com dashboard, click the gear icon.
- Go to Settings.
- From the sidebar, choose Data Export.
- Open the Export Your Account Archive tab, then click Request Data.

- You’ll get an email to the address associated with your Fitbit account. Open the email and click ‘confirm your data archive request.’
- You’ll receive another email with a link to download your Fitbit account data.
- Download and save the data file to your computer.
Fitbit’s built-in GPS not working? GPS signal missing?
Try these tips if the built-in GPS isn’t working on your Fitbit device.
- Make sure the exercise you select allows for GPS tracking. Swipe on any activity and check that Use Phone GPS is listed and set to On, and if available on your Fitbit, turn on GLONASS, too (reduces battery life on your Fitbit.)
- Only activities where you cover physical distance outdoors, like a run, walk, hike, or bike ride, offer GPS tracking.
- Use these settings for the best built-in GPS performance:
- GPS built-in.
- GLONASS on.
- Low-power GPS off.
- Charge your Fitbit to at least 80% before going out for your workout or activity.
- If using a metal band, switch to a fabric or elastomeric band and see if the GPS signal improves. There’s anecdotal evidence that metal bands interfere with GPS connections, particularly magnetic clasps or other actions.
- Also, if you wear any jewelry made from metal, remove those, especially if you wear them on the same arms/hand as your Fitbit.
- Turn off GPS Low Power Mode.
- On your Fitbit, open the Settings app > GPS Settings and change GPS mode to Built-in GPS instead of Dynamic or Phone modes.
- Sync your Fitbit device to your phone’s Fitbit app before going out, and make sure All Day Sync is turned on inside the Fitbit app.
- Check if there is a firmware update for your Fitbit device and if so, update it.
- Force quit and then relaunch your phone’s Fitbit app to refresh its connection to your Fitbit. Do this before you go out without your phone.
- Restart your Fitbit device.
- Uninstall the Fitbit app on your paired phone, then reinstall it. Once done, perform a factory reset of your Fitbit device.
Fitbit’s Connected GPS not working? Or is the GPS signal missing?
If your Fitbit failed to map your route using your phone’s GPS, try starting the exercise in the Fitbit app on your phone instead of starting it directly on your Fitbit.
Remember, only activities where you cover physical distance outdoors, like running, walking, hiking, or riding, offer Connected GPS tracking with your phone.
And remember to wait for your phone to find the GPS signal before starting your workout.
Your phone’s Fitbit app must be active or running in the background to connect to GPS.
If that didn’t help, ensure Bluetooth s on and your Fitbit is listed as connected in those Bluetooth settings.
Verify that the Fitbit app is always allowed in the background for things like location services, background app refresh, and battery usage by app.
Turn off Low Power mode, Battery savings, or Power saver mode on your phone.
Other things to check are that you don’t have Airplane mode or Do Not Disturb on and that you set the Fitbit app to the All Day Sync option. For Android devices, make sure Always Connected is on.
Tips to get Connected GPS working on your Fitbit device
- Update the Fitbit app to its latest version and check if your Fitbit device has a pending firmware update.
- Force quit and then relaunch the Fitbit app to refresh its connection. Then, sync your device in the app. Finally, select a GPS-based activity and start it from the tracker.
- Open your phone’s Settings > Fitbit app and turn off Bluetooth. Restart your phone and then go back to Settings > Fitbit app and turn Bluetooth on.
- Go to your paired phone’s settings, turn Bluetooth off, wait 20 seconds, and then turn it back on.
- Review your phone’s Bluetooth devices. If you see any unused, used Fitbit devices in your phone’s list of Bluetooth devices, tap them and choose to Forget this Device.
- Restart your phone and restart your Fitbit device.
- Sync your Fitbit, remove the Fitbit app, and reinstall it on your paired phone.
- Set up your Fitbit as a new device.
- Sync your Fitbit to the Fitbit app so you archive your data.
- Go to the Bluetooth settings on your phone and choose to Forget this Device.
- Open the Fitbit app and choose to Set up a New Device.
- Choose your Fitbit model and follow the onscreen instructions.
- If the Fitbit app asks you to replace your Fitbit, choose to replace it.
- Pair your Fitbit with your phone or other device and follow the remaining instructions.
Summary
We hope we’ve answered all your Fitbit GPS-related questions.
Still need some help?
Comment below, and we’ll try to find a solution as fast as possible!

Or reach out to Fitbit Support and Fitbit Help for answers!








Great article! Wondering if there is a fitbit device providing spoken gps navigation. Can be handy while running… Looking forward for an answer.
Hi Jan,
Not yet. But with Fitbits upcoming adoption of Android Wear OS 3.0, we expect some changes to come to Fitbit including a lot of Google apps. That most likely includes Google Maps and could include voice directions from your Fitbit.
good article!
Can I check to see if my Charge 4 is using the built-in GPS or my iPhone GPS?
My Charge 4 dropped GPS during a walk.
I checked and Find my iPhone was working fine so wondered why the Charge 4 had dropped GPS. Msg on Charge 4 stated that Charge 4 could not connect to GPS.
Also, it would help to be informed before 10 minutes so we have a chance to fix it sooner. Thanks.
HI Bruce,
On your Charge 4, open the Settings app (icon looks like a slider with dots) and scroll down to find GPS type.