Is your Fitbit watch or tracker draining faster than it should? Unfortunately, you are not alone. Many users of newer models like the Charge 5, Sense Series, Luxe, and Versa 3+ complain about their devices not matching Fitbit’s battery life claims.
But there is something you can do about it! Try these tips to extend your Fitbit’s battery life.
Contents
- 1 Fitbit battery life issues? Check these things first
- 2 Turn off built-in GPS or use Dynamic GPS
- 3 Don’t use Always-on display
- 4 Change your screen timeout
- 5 Dim your screen
- 6 Sleep with your Fitbit? Use Sleep mode
- 7 Reset your Fitbit’s data
- 8 Drain your battery before charging
- 9 Is your Fitbit’s battery significantly draining only at night?
- 10 Is your Fitbit battery still draining too quickly?
Related reading
- How to check the battery level on your Fitbit
- Fitbit Versa or Sense not charging? What to do if your Fitbit won’t charge
- Fitbit side button not working or stuck? Steps to fix it
Fitbit battery life issues? Check these things first
- Clean the charging ports on the back of your Fitbit and the charging cable.
- If new firmware is available, update your Fitbit.
- Reboot your Fitbit.
- Charge your Fitbit in a warm but not hot environment. Extreme cold (or heat) impacts the battery’s ability to charge and retain its charge.
- If you use the blood oxygen saturation (SpO2) clockface or app, uninstall it and see if that makes a difference. This feature runs in the background to track your SpO2 data and significantly impacts your Fitbit battery life.
- Review the app notifications you set up for your Fitbit in the Fitbit app > your device > Notifications > App Notifications. Turn off any app notifications you don’t use or need to show up on your Fitbit.
Important notice for Fitbit Ionic owners
Google is recalling all Fitbit Ionic smartwatches due to the possibility that the lithium-ion battery can overheat, posing a burn hazard.
If you own an Ionic, Fitbit recommends you immediately stop using it even if it’s working normally and apply for a refund via this Ionic refund site. You’ll need to fill out a form and will receive a return kit with instructions on how to return your device for a refund.
This refund applies to all Fitbit Ionic watches, even inactive units.
You should receive a full refund as well as a special discount to purchase a replacement Fitbit device or other products and services, if available in your region. This special discount is available for a limited time and is valid for 90 days after registering for your Ionic refund.
Turn off built-in GPS or use Dynamic GPS 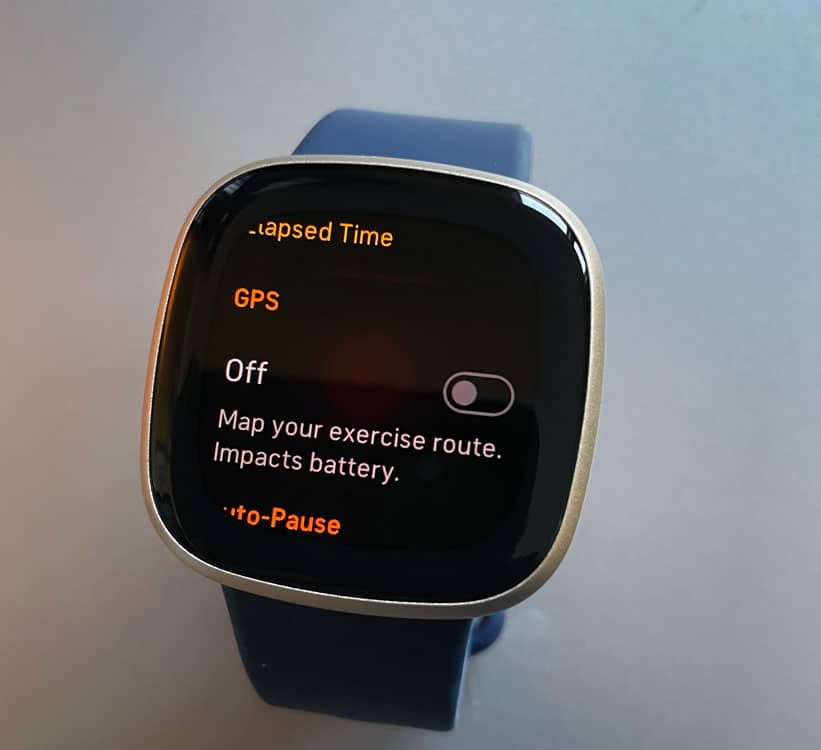
If you use your device’s onboard GPS to track your workout routes, your Fitbit requires more frequent charging. And, if you forget to end your workout your Fitbit continues to collect GPS information, causing a lot of battery loss.
Using the built-in GPS regularly drains your battery, so try turning it off if you don’t need this feature. Or, on certain models, change it to Connected GPS (also called Phone GPS) to use your phone’s GPS information if you usually bring your phone with you when exercising. 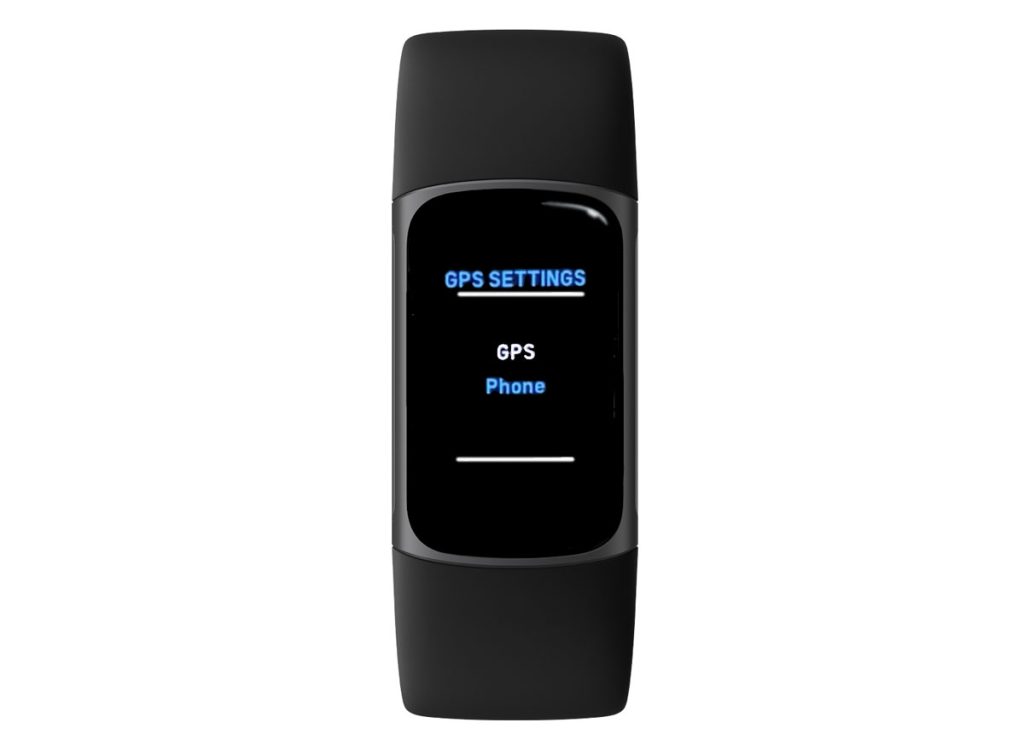
Unfortunately, at this time, the Fitbit Ionic, Sense Series, and Versa 3+ do NOT offer a way to use your paired phone’s GPS. For folks with these models, including me, it’s important to remember to end your workout and stop collecting GPS data.
Use Fitbit’s Dynamic GPS
Some models, like the Charge 4 and 5, include a GPS feature called Dynamic GPS, which intelligently switches between your phone’s GPS and the Fitbit’s built-in GPS. 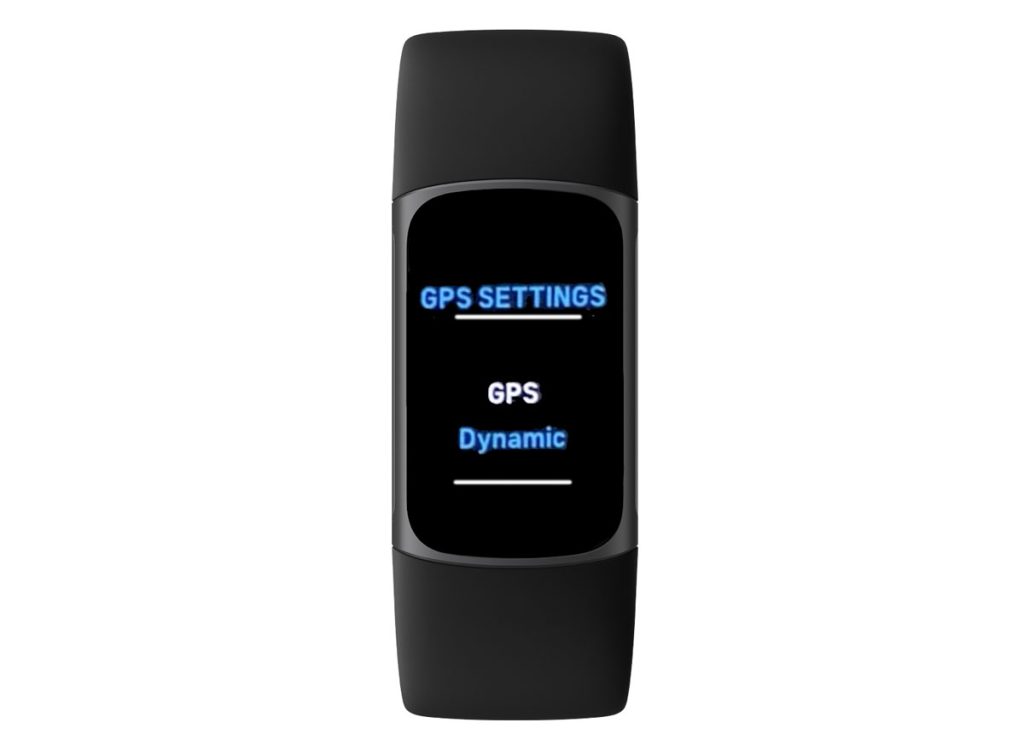
So if you sometimes have your phone with you when you exercise and sometimes don’t, set your Fitbit to the Dynamic setting.
When you use Dynamic GPS, your Fitbit sets the GPS type at the start of your workout.
So if you take your phone with you, your Fitbit uses Phone GPS to map your route. If your Fitbit detects that your phone is not moving with you when you start your workout, it uses built-in GPS.
You cannot switch this setting mid-workout. Whatever it starts with is the setting for the entire workout.
Don’t use Always-on display 
Certain Fitbit models and clock faces support a screen that’s always on showing the current time, even when you are not actively looking at or interacting with your Fitbit.
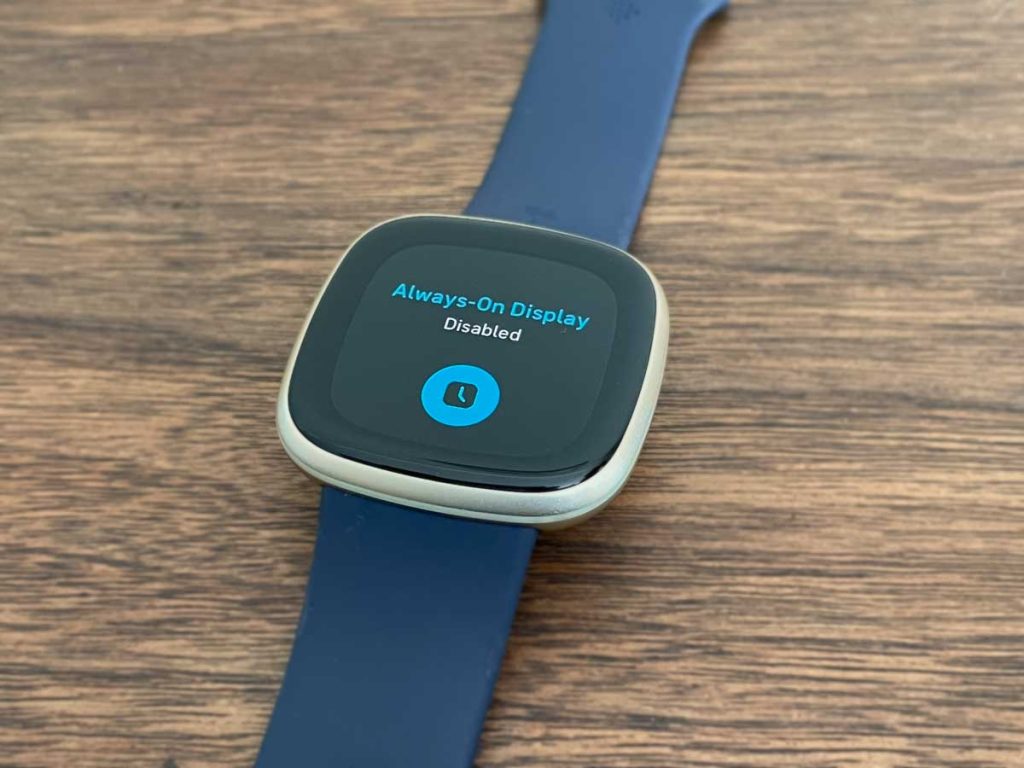
With your screen always on, this feature reduces your watch‘s battery life and means you need to charge your Fitbit’s battery more frequently. So, to conserve your battery, it’s a good idea to turn this option off.
- For Sense Series and Versa 2 and above, turn it off by opening up your Quick Settings and tapping the always-on icon that looks like a clock.
- On the Luxe and Charge 5, open your Quick Settings and select the Settings app. Choose Display settings and tap Always-on display to turn it off.
Change your screen timeout 
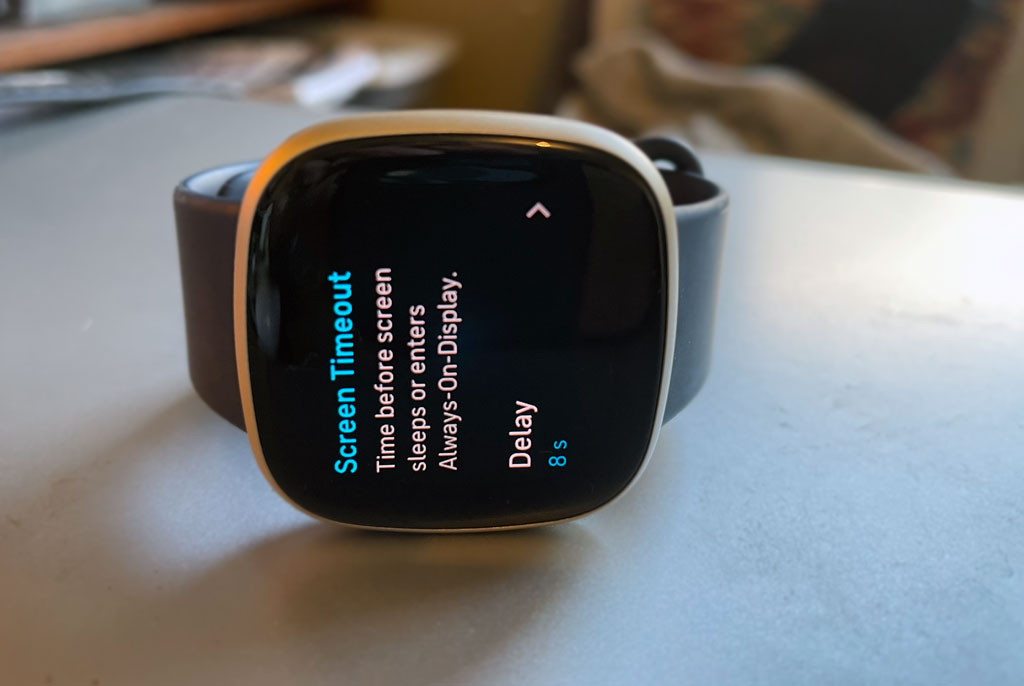
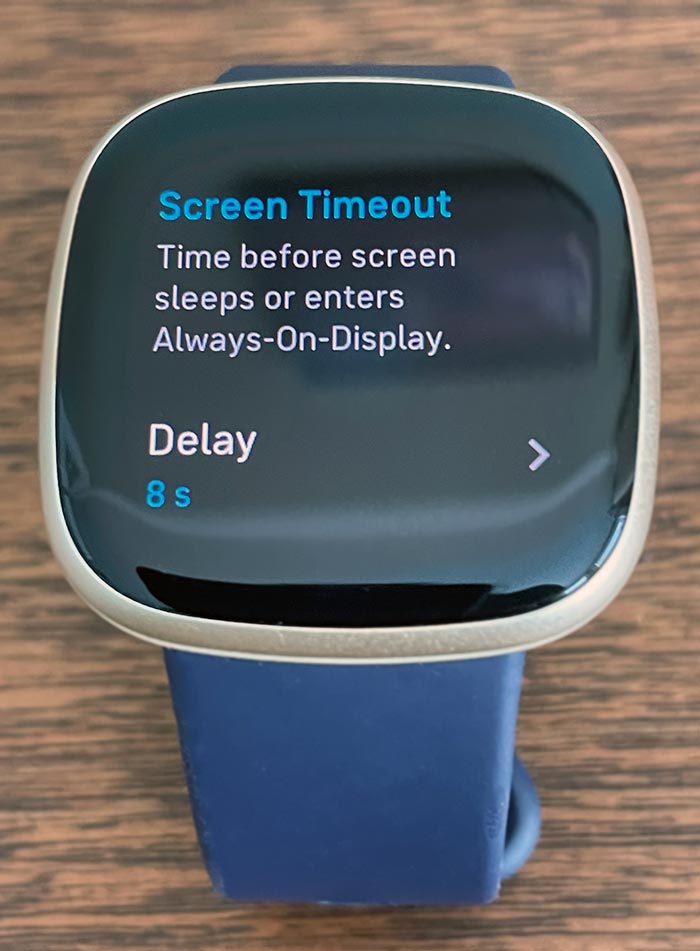
Screen timeout is the amount of time your Fitbit screen remains on and visible before it turns off or switches to an always-on display when you aren’t interacting with its screen or buttons.
Many Fitbits offer this feature, and some like the Fitbit Sense Series or Versa 3+ allow you to choose a fairly long screen timeout of 1 minute. The downside of a long screen timeout is that it drains your battery fairly quickly.
So, take a moment and review your Fitbit’s screen timeout settings and choose the setting that works best for you AND your battery.
Unfortunately, some Fitbit models like the popular Inspire Series do not allow you to change this setting, but for those that do, check these settings:
- Open your Fitbit’s Settings app.
- Choose Screen Timeout, Display > Screen Timeout, or Display Settings > Screen Time Out.

- Tap the current setting to change it and choose something less than the current setting to conserve the battery.
- Trackers show default (the shortest), Medium, and Long.
- Watches show the delay in seconds, usually between 8 and 60 seconds.
Dim your screen 
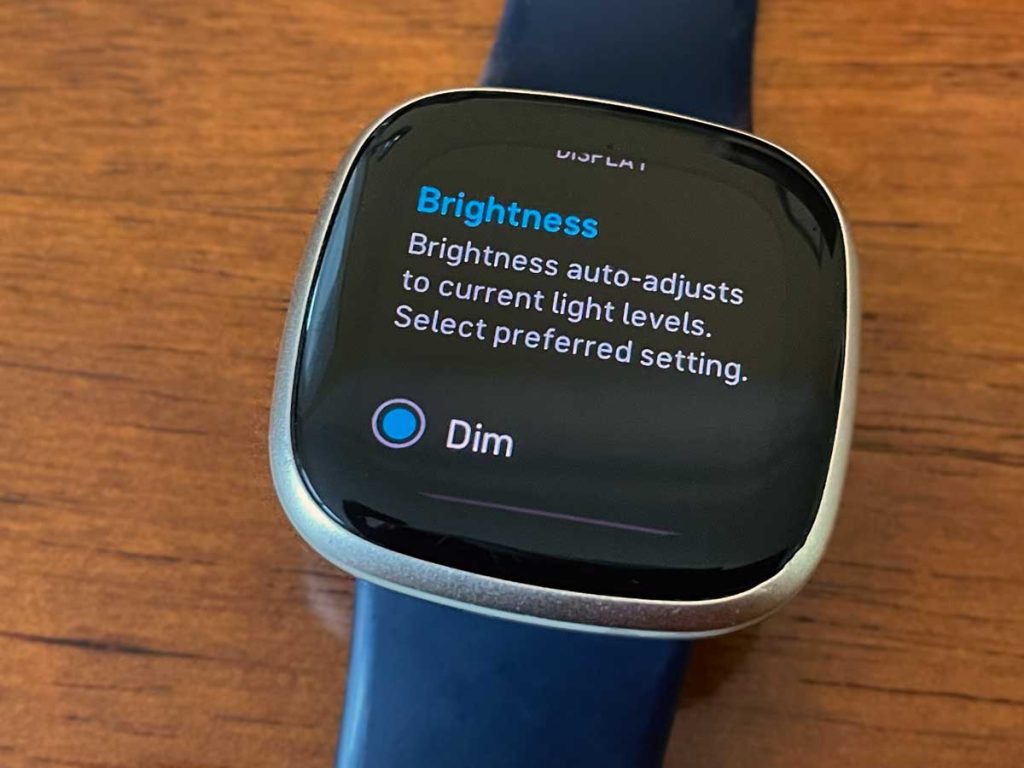
Keeping your Fitbit’s display bright takes power. So, set your Fitbit to the lowest brightness setting you can tolerate, preferably to the Dim setting.
To change your Fitbit’s screen brightness
- Open the Settings app and choose Display.
- You can also do this in your Fitbit’s Quick Settings by tapping the sun icon.
- Change to Dim or if that setting is too low, select the Normal setting. Try not to use the Maximum setting, if at all possible.
Like the Inspire Series, some tracker models only offer a Dim Screen option in the Settings app. Check that this is on, or tap it once to turn it on. 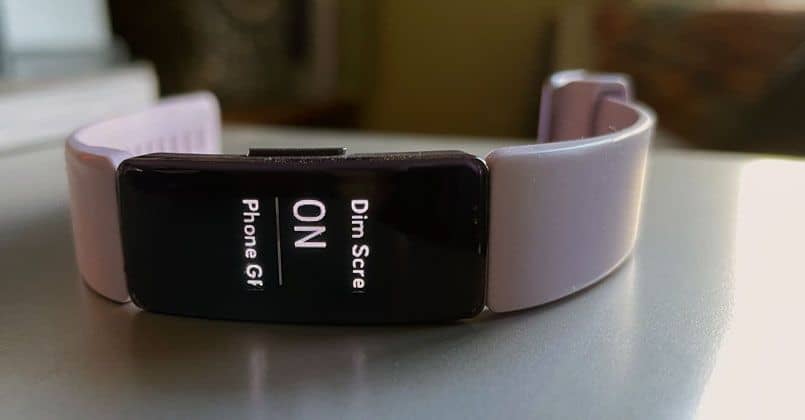
Sleep with your Fitbit? Use Sleep mode
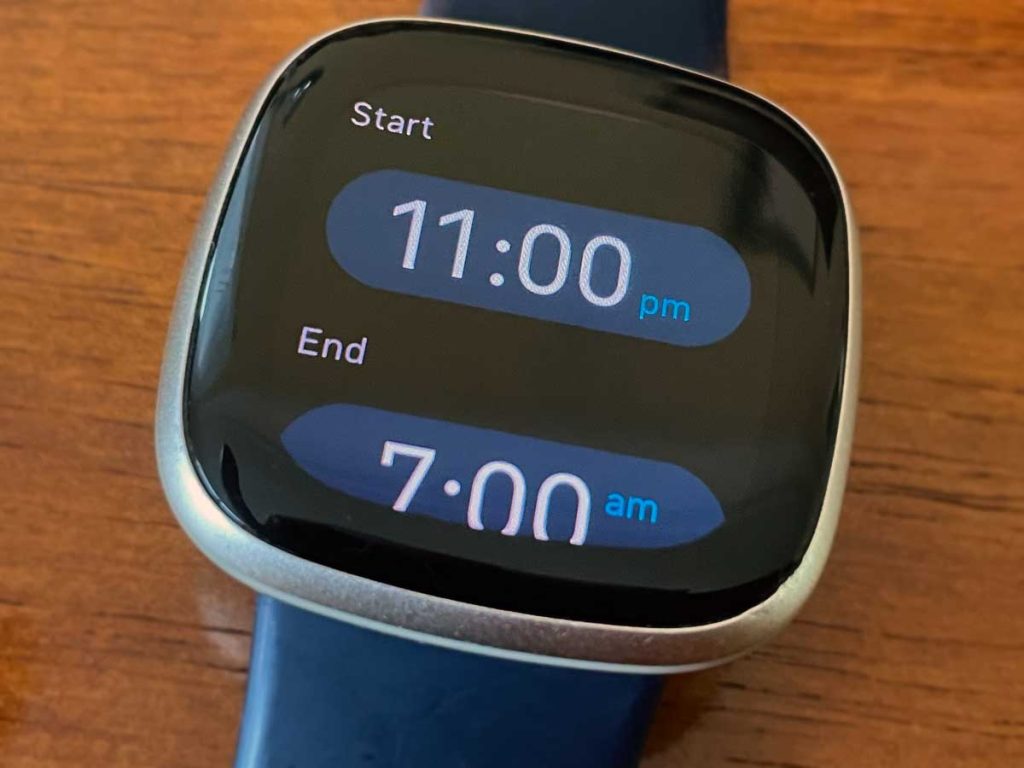
If you wear your Fitbit to bed to track your sleep, make sure you either manually turn on Sleep mode in your Quick Settings or set up a sleep schedule. This feature is for the display only. It is not your target bedtime and wake-up time for sleep tracking.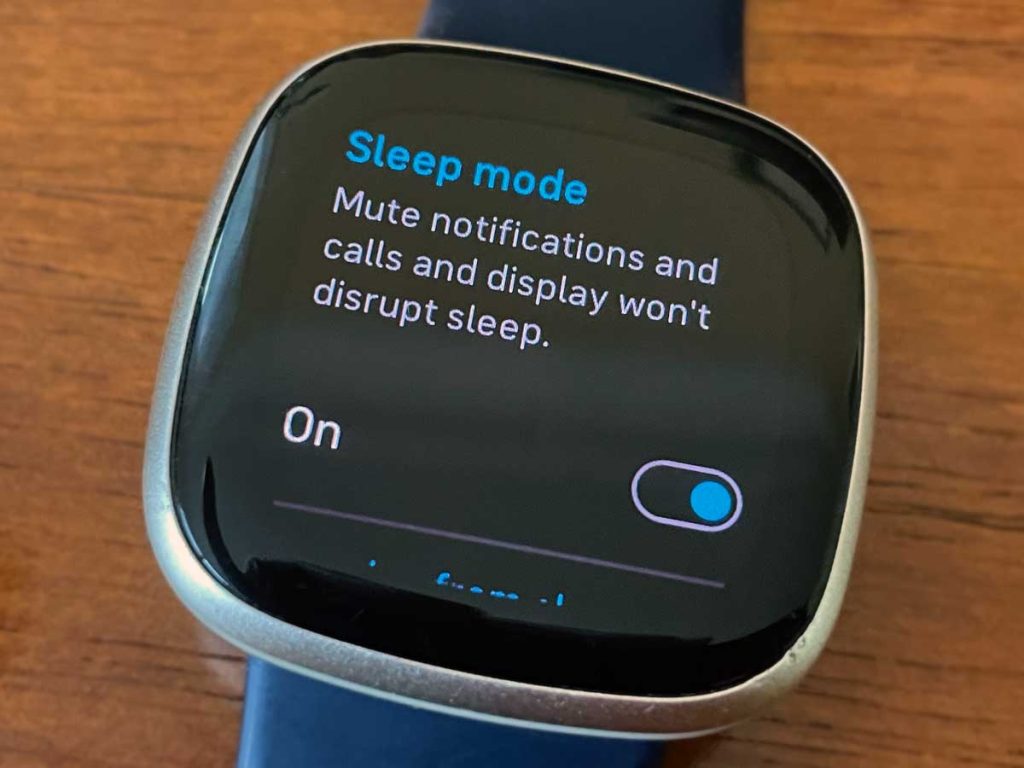
When your Fitbit is in Sleep mode, it mutes notification, turns your screen to its dimmest setting, and keeps the screen dark when moving your wrist. While many Fitbits offer this mode, not all do.
To turn Sleep mode on using your Quick Settings, tap the crescent moon icon. 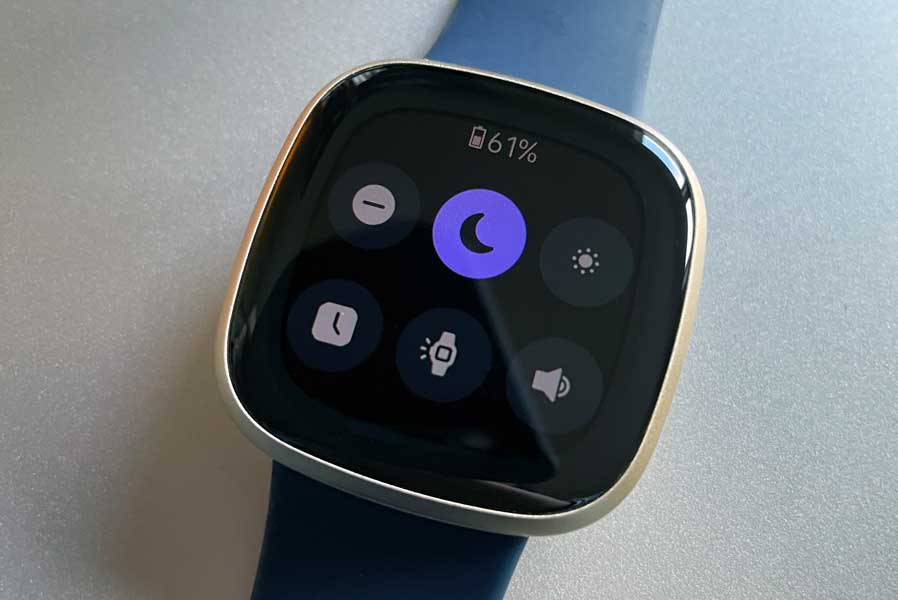
After waking up, you must tap it again to turn it off.
To schedule sleep mode to turn on and off automatically
- Go to your Fitbit’s Settings app and for some models, choose Quiet mode.
- Turn on Sleep mode, and then tap the option to Schedule (or on some models, choose Sleep Interval.)
- Choose the times your want sleep mode to turn on and off each day.

Once your set your sleep mode schedule, it automatically turns on and off at times you scheduled. You can even manually tap it on or off, and it continues to follow its set schedule.
Reset your Fitbit’s data
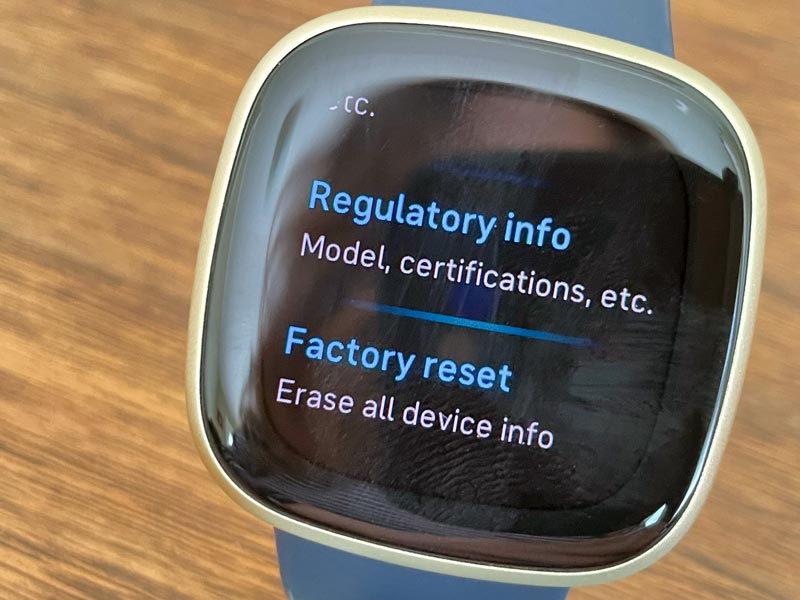
Sometimes it’s just a random setting that we changed that’s getting in the way and causing all these battery problems. Rather than looking through each and every setting, the quick and easy way is to simply return your Fitbit back to its factory settings.
Many people who experienced significant battery drain in a single day or within several hours discovered that a reset or clearing of personalization fixed their battery problems.
And for those with older Fitbit, a factory reset helps clear all the clutter accumulated over the years that can cause problems, particularly with the battery. Many users tell us that a factory reset fixed the battery problems on their 2+-year-old Fitbits.
To reset your Fitbit, follow these steps 
- Open the Settings app on your Fitbit.
- How you reset depends on your model:
- For watches, go to Settings > About > Factory reset (or Clear User Data.)
- On some models like the Charge 5 and Luxe, go to Settings > Device Info > Clear User Data.
- For many tracker models like the Inspire Series, go to Settings > Clear User Data.

Resetting your Fitbit removes apps, any stored data, all personal information, including any credit and debit cards linked to Fitbit Pay, and all saved device setting.
Since Fitbit stores your information in the Fitbit app and on its servers, resetting does not remove any of your activity history or other data in your Fitbit account, like sleep, heart rate information, your food log, and so forth.
For model-specific instructions on resetting, see this article Need to restart or reset your Fitbit? Learn the steps.
Drain your battery before charging 
Although the Lithium-ion battery used in your Fitbit should not have memory issues, it’s always good practice to let your Fitbit battery run down until you get a message that your battery is low.
Fitbit lets you know when it’s time to charge by sending you a notification and showing a message or battery icon on its screen. You may even get an email!
Once notified, check your Fitbit’s battery level and if it’s more than 10%, let it run down a bit more to something like 5% and then place it on its charger for a full, 100% charge.
If you prefer charging your Fitbit on a schedule, regardless of how much battery is available, try letting it drain down until you get the low battery notification once a week or once a month.
Is your Fitbit’s battery significantly draining only at night?
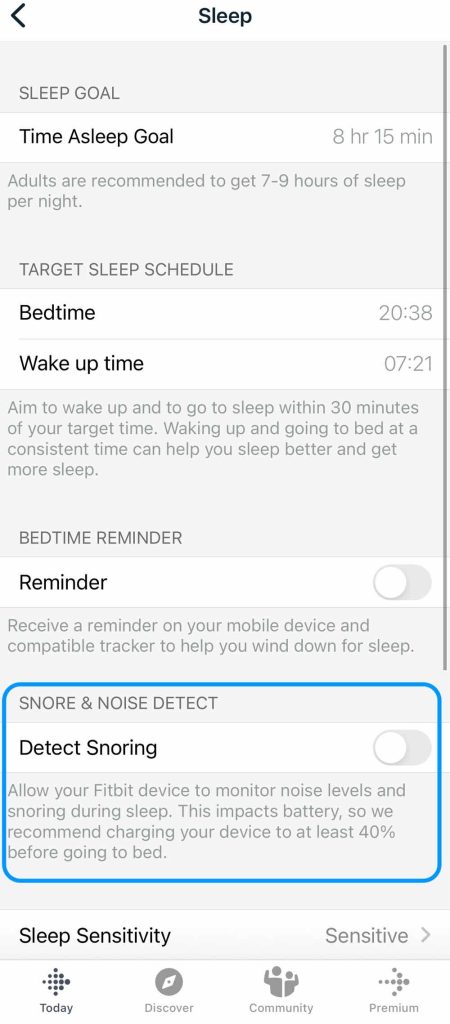
Try turning off snore detection if your Fitbit offers this feature and you are a member of Fitbit Premium.
- Open the Fitbit app and tap the Today tab > Sleep tile > Settings gear icon and turn off Detect Snoring.
- You can also access these settings in your account’s Activity & Wellness > Sleep.

- You can also access these settings in your account’s Activity & Wellness > Sleep.
Fitbit’s snore detection feature drains a lot of your device’s battery since it tracks the noise levels around you for snoring throughout the night using the built-in microphone on your Fitbit. So if you don’t need this feature, turn it off.
Is your Fitbit battery still draining too quickly? 
If you tried all of the above tips and your Fitbit’s battery life continues to drain, contact Fitbit Support. If your Fitbit is within its warranty window (usually one or two years depending on your location,) Fitbit will replace or repair your device at no cost.
Even if your Fitbit is outside that warranty, it’s still a good idea to contact them, as they may offer ways to fix this issue that we didn’t cover.
We find that chatting with them online via their chat option is usually the fastest way to contact someone at Fitbit Support.





Hi
Despite all this, battery is not upto the mark the Fitbit claimed to be…. so hating it!
Sorry, seems the company is has made a misleading statement.
Thanks anyways.